Please make sure you have the following software installed.
ENIQ Software and portier Software with portier Agent

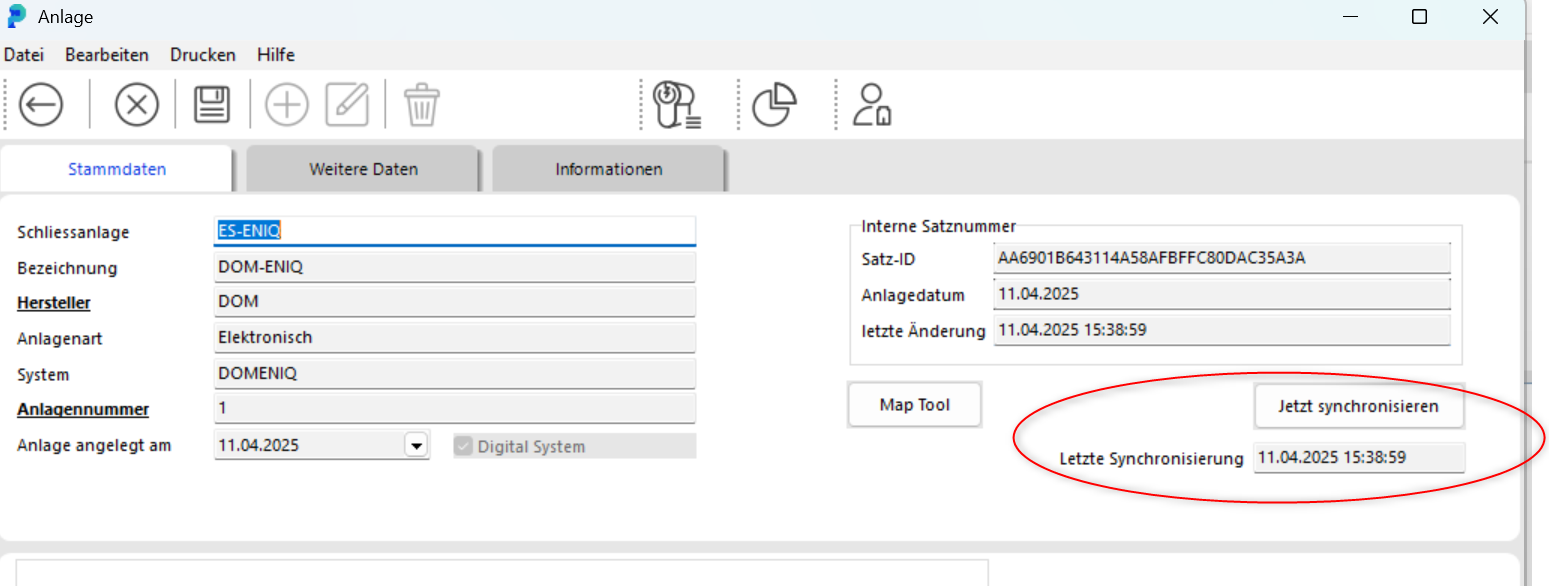
Software portier Version 5.3.4
You need an MSSQL Server 19-22 with SQL Server Management Studio
Portier Agent requires WebView2.
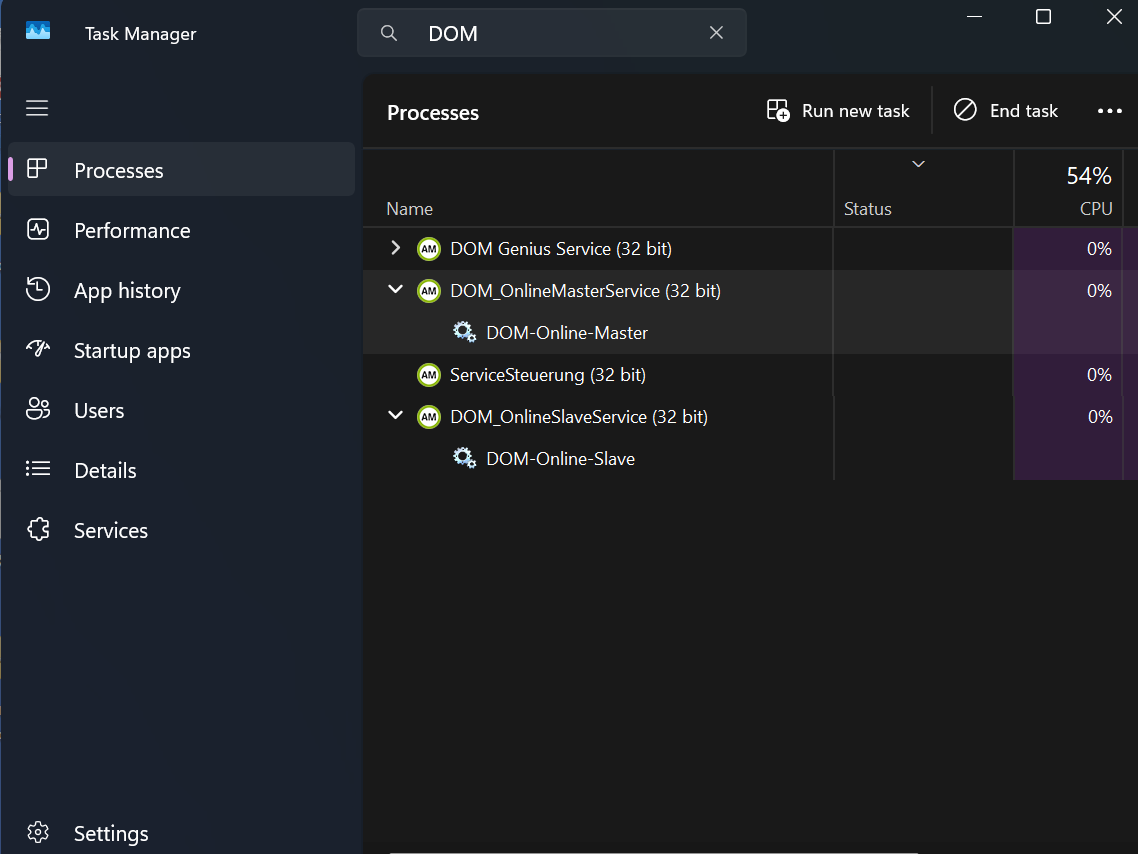
Your ENIQ software should be running and you should see
two ENIQ icons in your taskbar. ENIQ Slave and Master Service
Please double-click on theportierAgent.exein your portier folder
The Agent will open and you will be asked for email ID and password.
Please enter the login credentials in the Agent dialog and click on"Activate"

The login credentials are as follows:
Email ID: user@portierglobal.com
Password:123456
Please enter your DOM server information
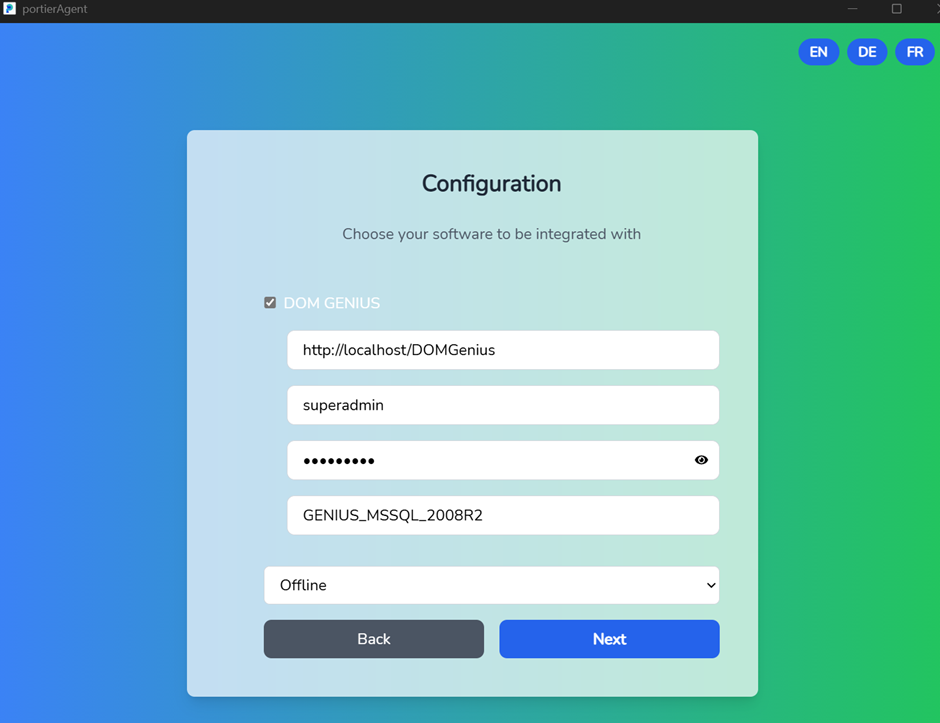
http://localhost/DomGenius
DOM Genius User Name
DOM Genius Password
Online/Offline Function
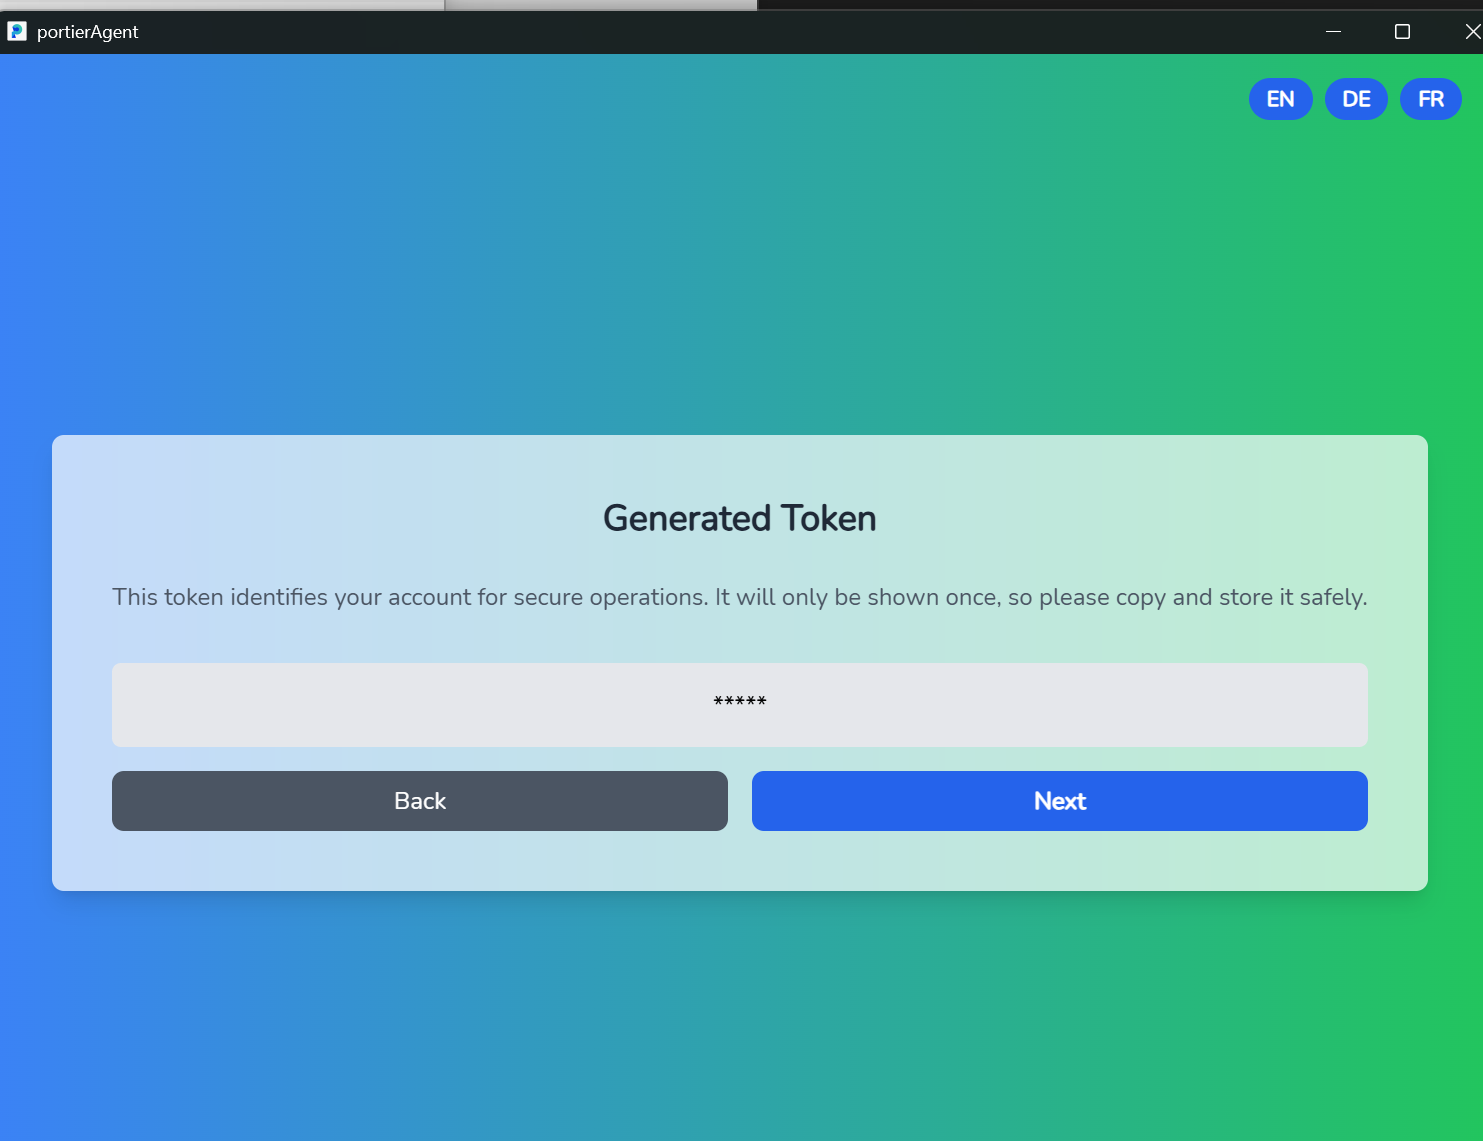
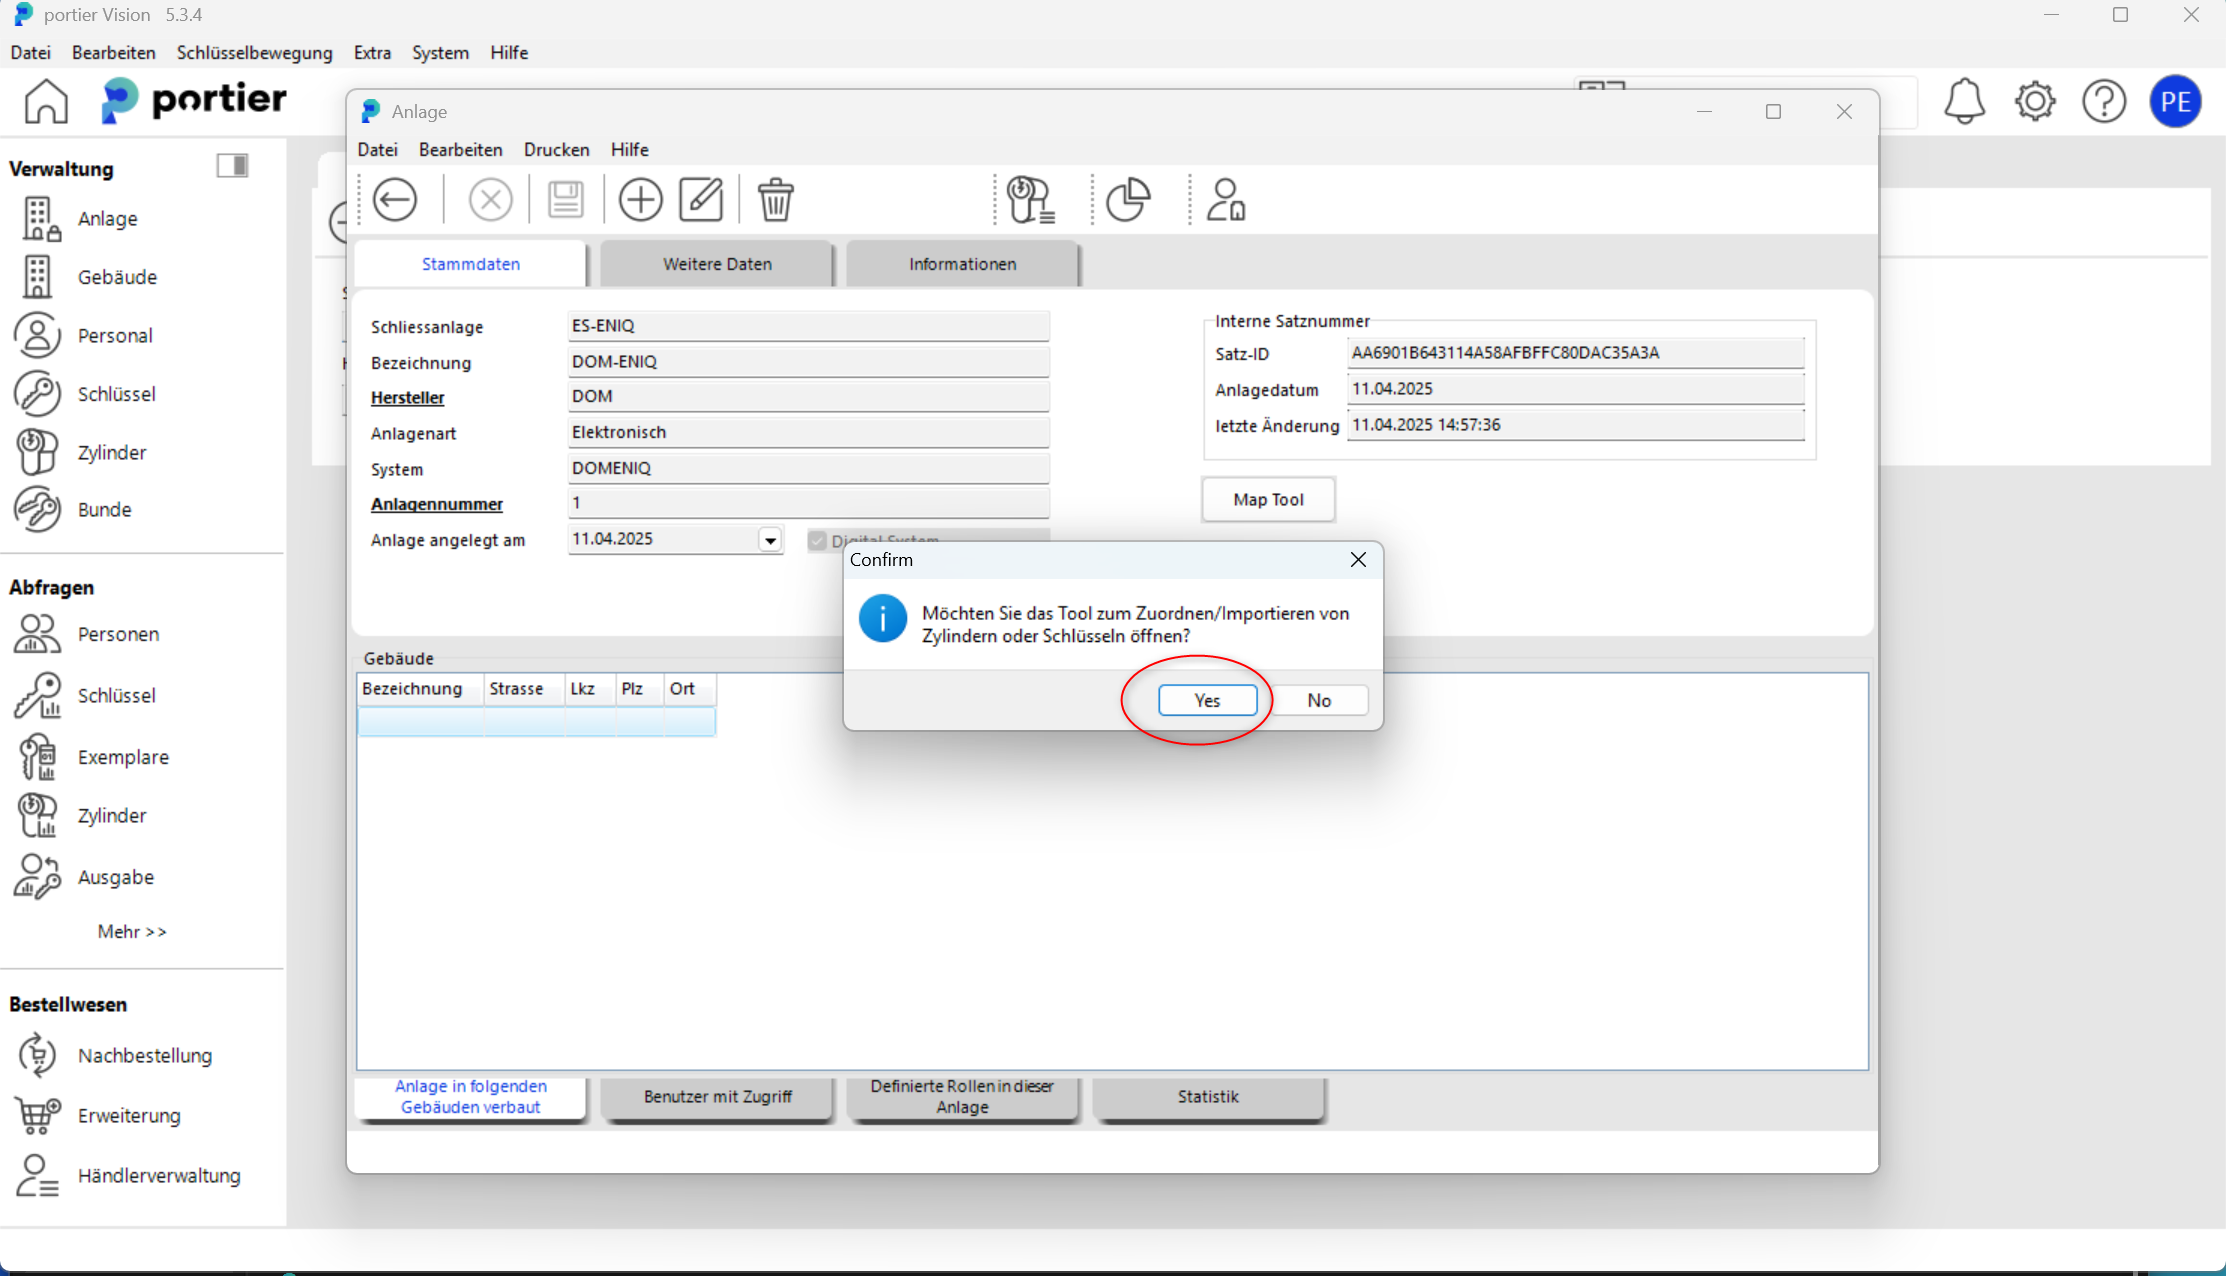
Then click on "Next" and you will see a token page where please click on"Next".
You will receive a new window with a DOM ENIQ Disconnected window.
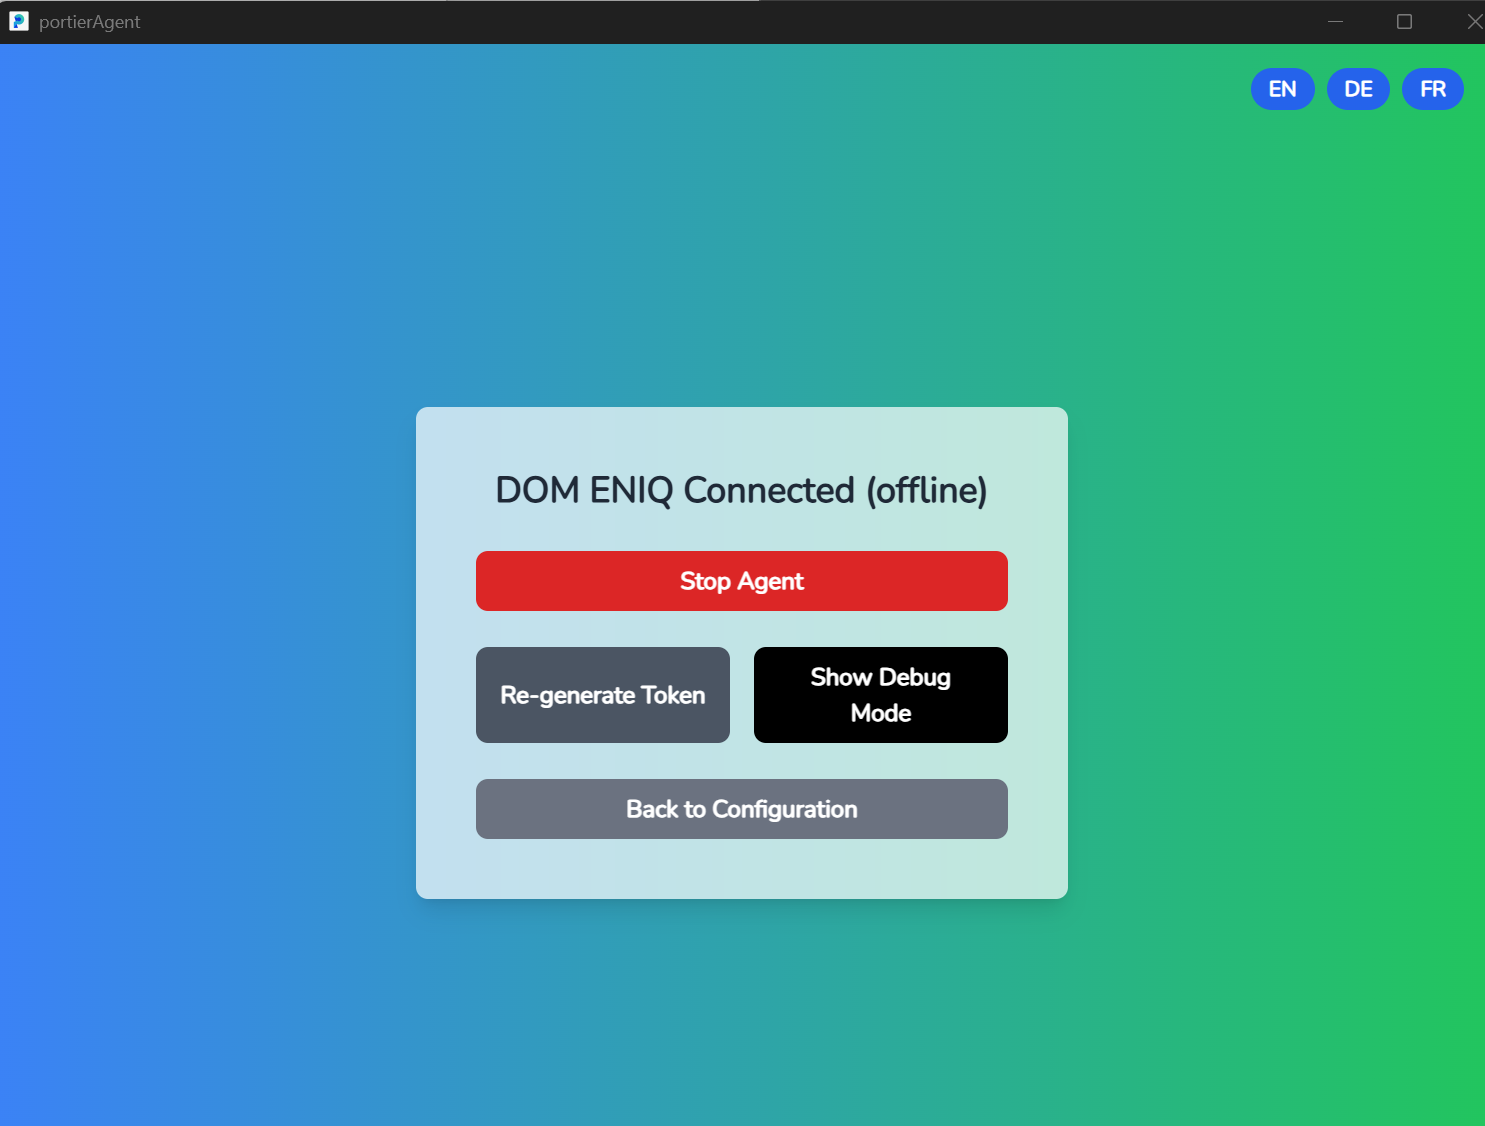
Now you are connected to the Offline or Online Agent. To see whether your "Offline or Online Agent" is connected, please click on"Show Debug Mode".
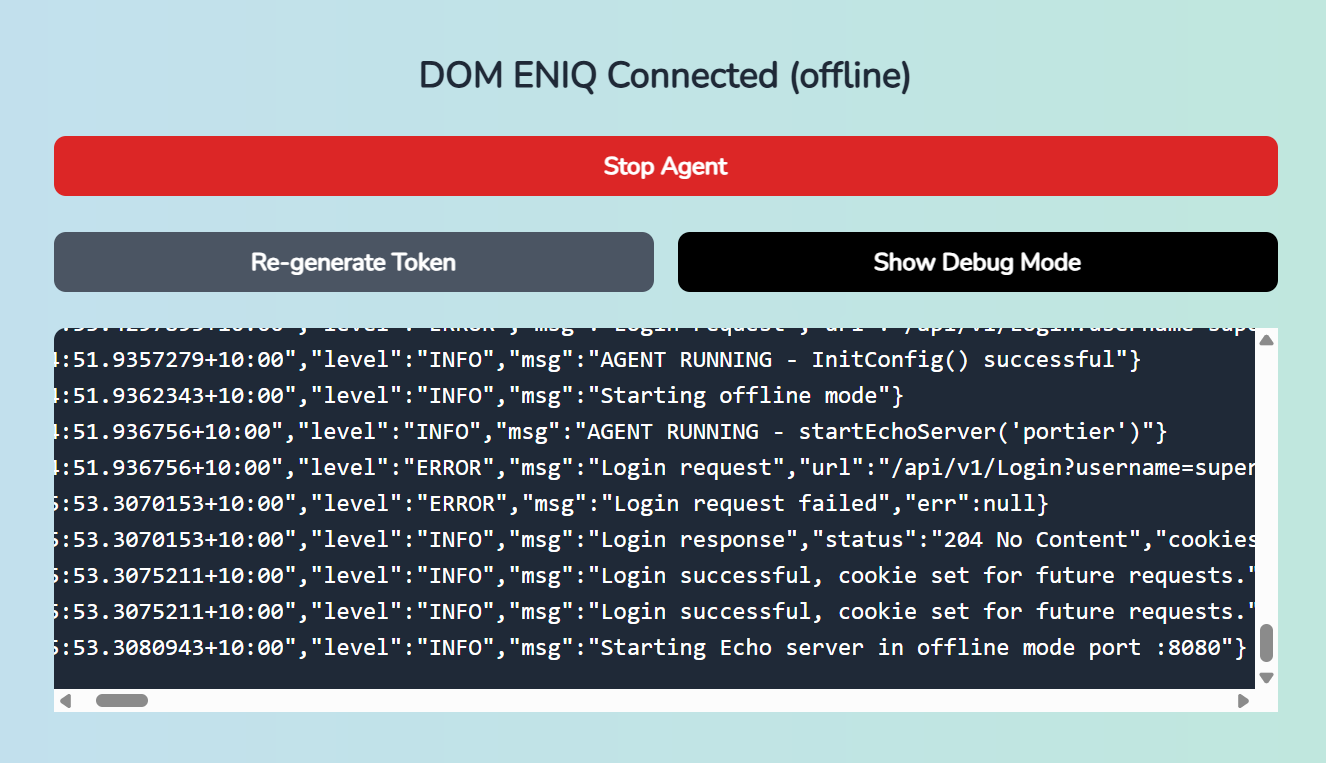
You will receive a confirmation message in the bottom row:
"Starting Echo server in offline mode port :8080}
After you have completed the settings, it is time to start theportier.exe.
Please enter your username and password as usual and click on"Login"
When importing personnel, it is important that each employee in DOMENIQ has been assigned a personnel number, as this is used for matching.
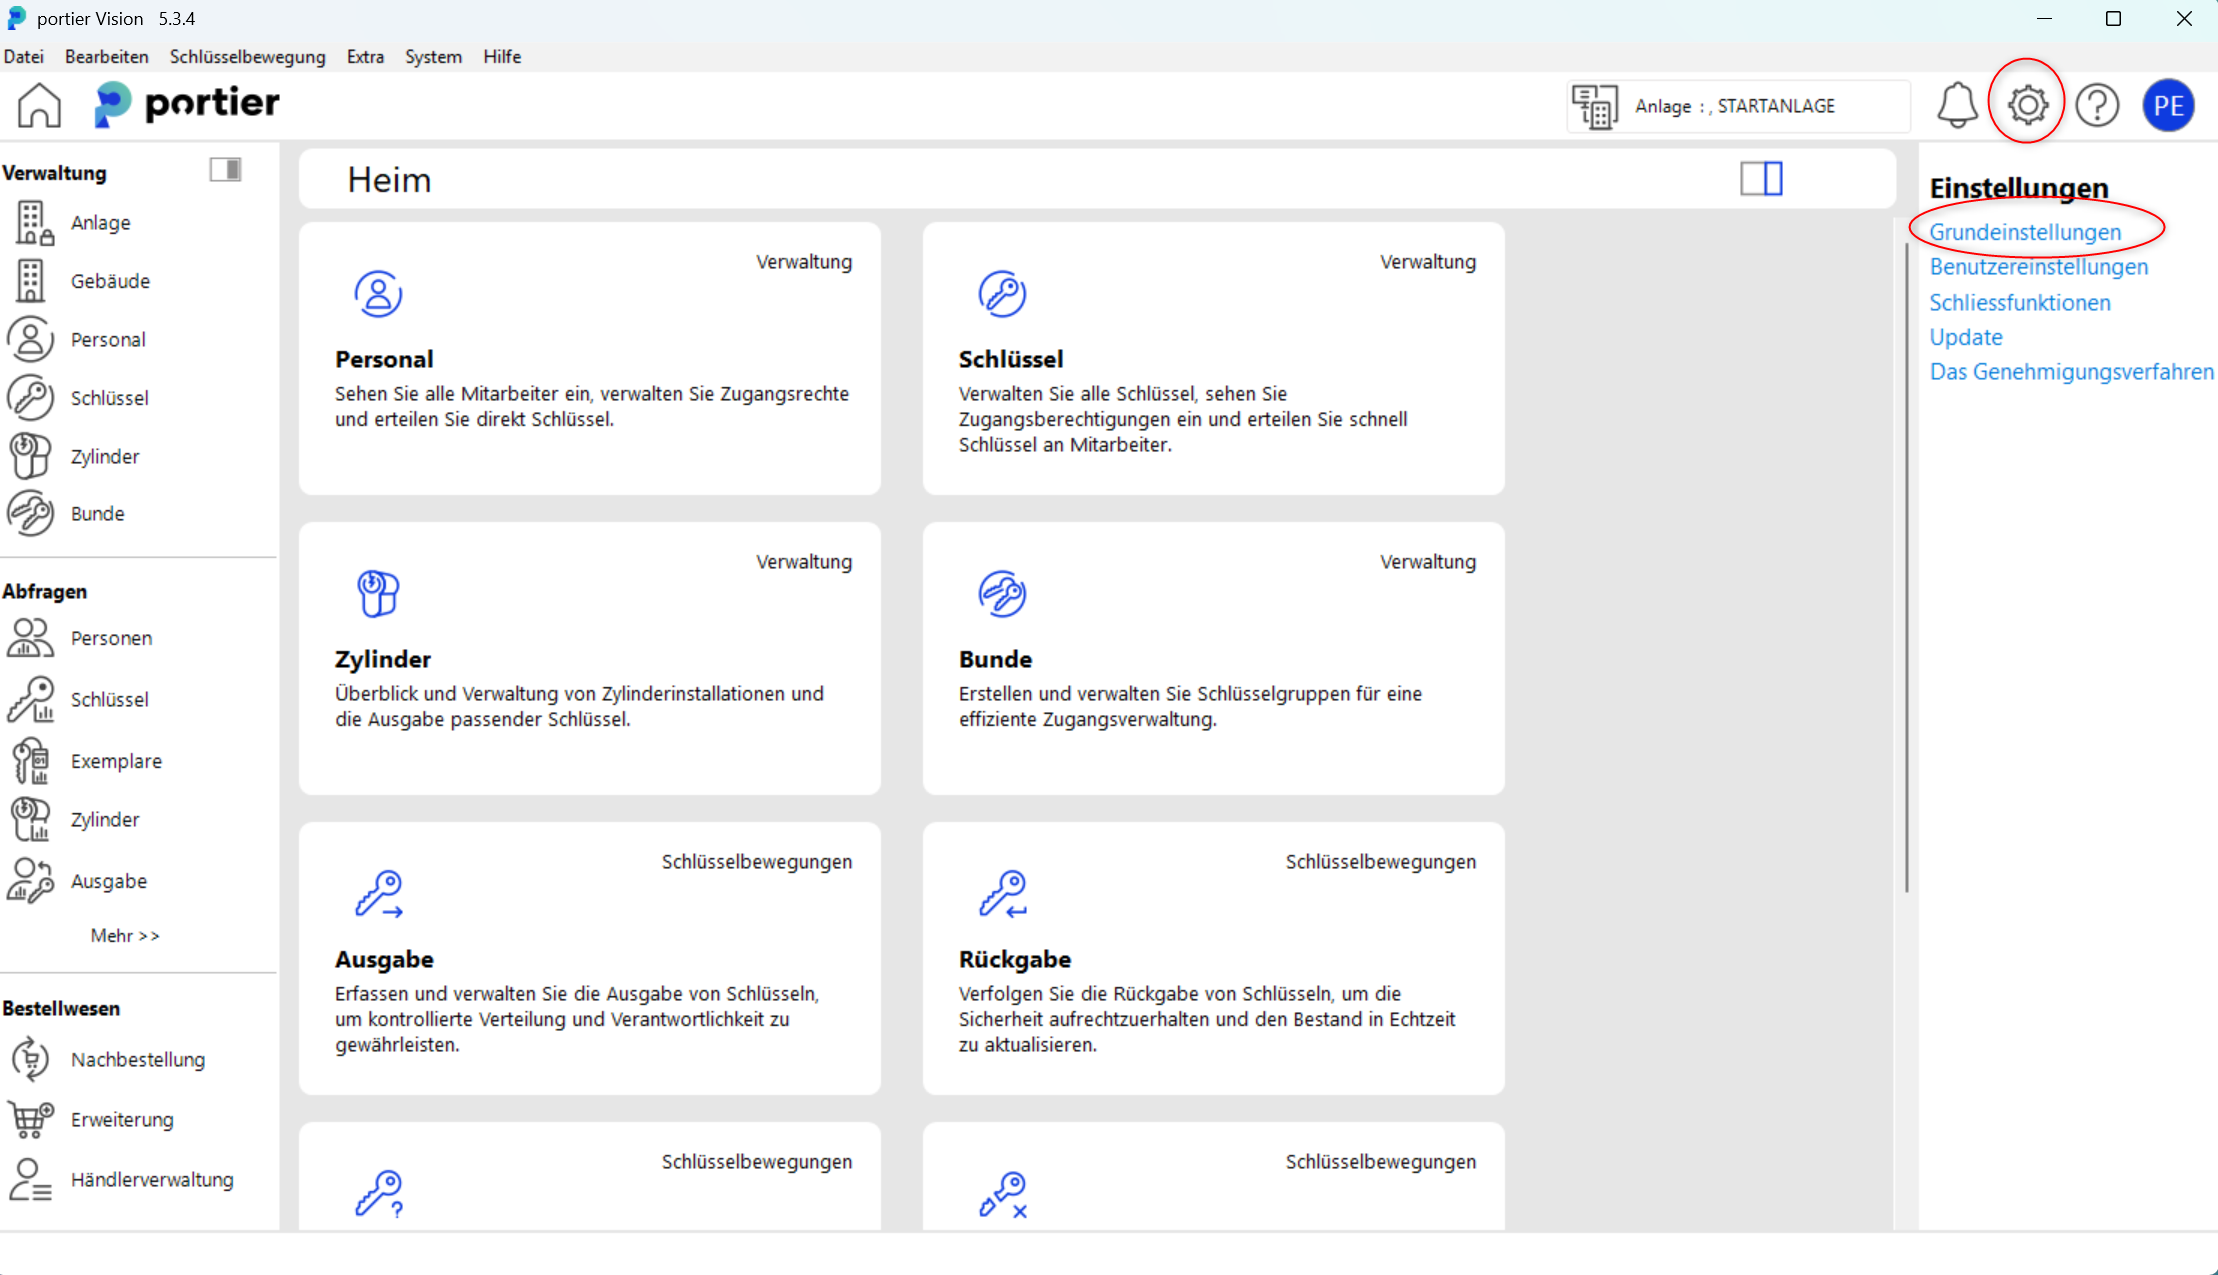
In the upper right of the main screen, click on the"Settings icon"then on the"Basic Settings"
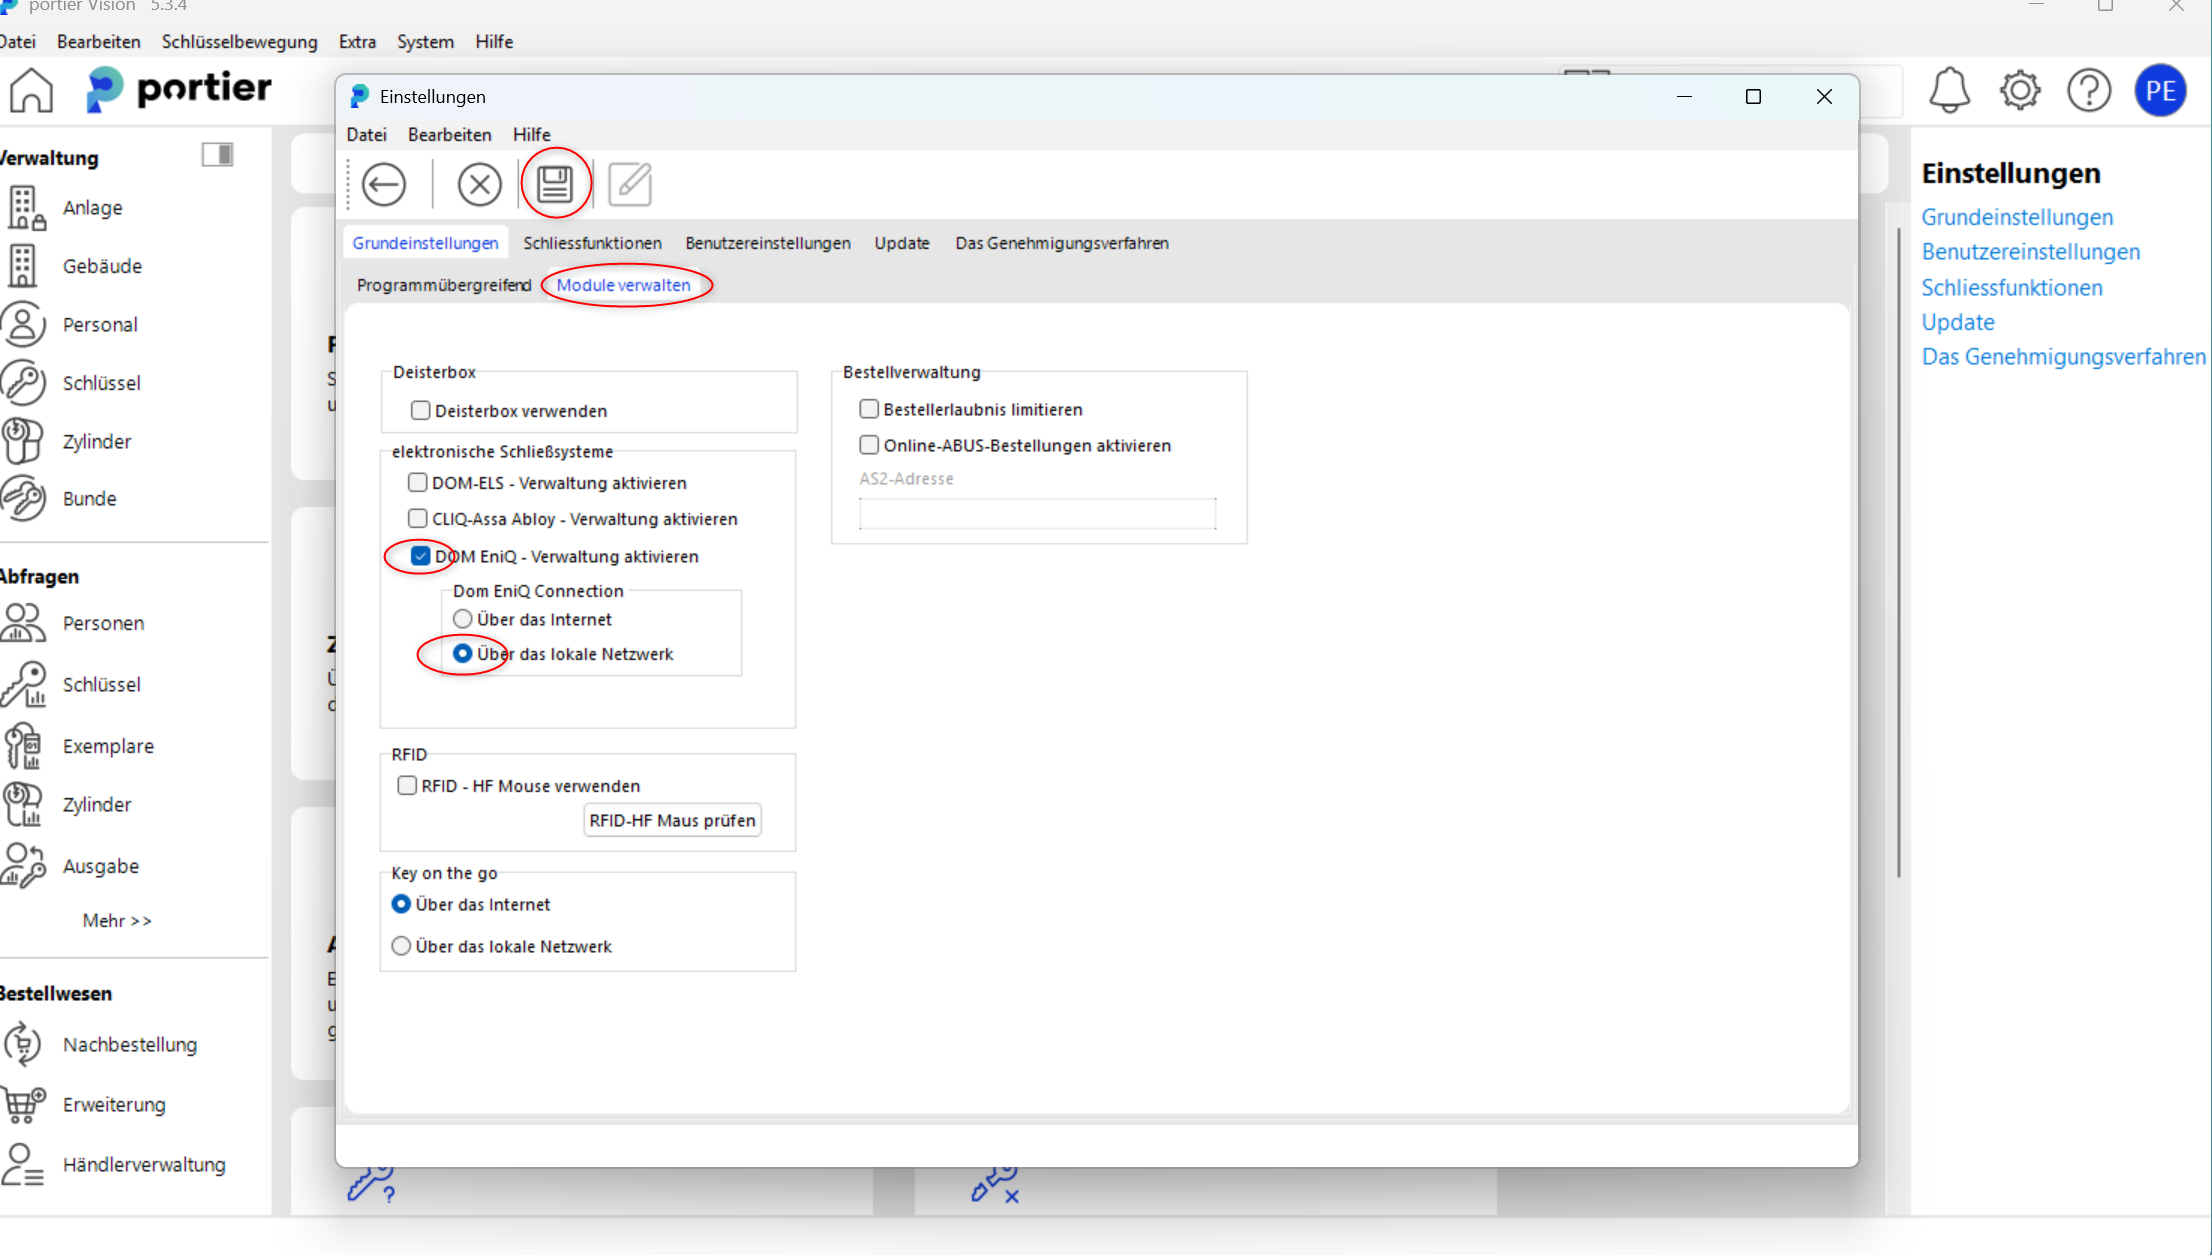
In the tab"Basic Settings & Manage Modules"please activate the"DOM"module.In the next step, navigate to
"System"
and then to"DOM Integration"
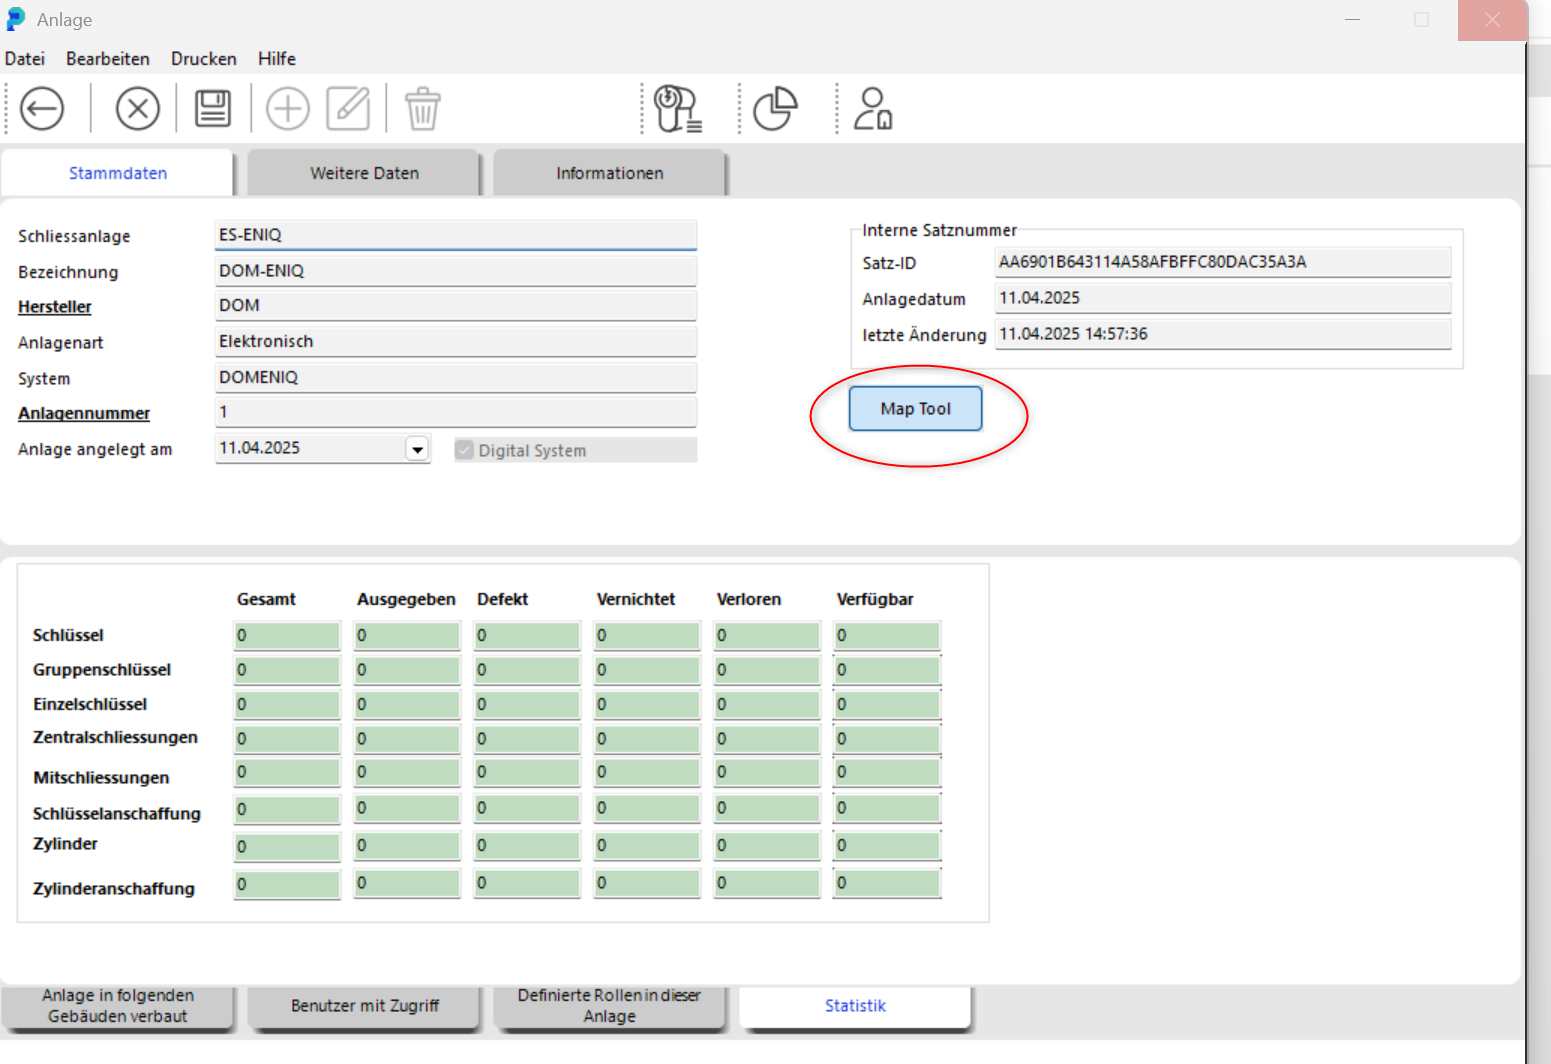
In the DOM Integration screen, click on

"Connect/Load Data".

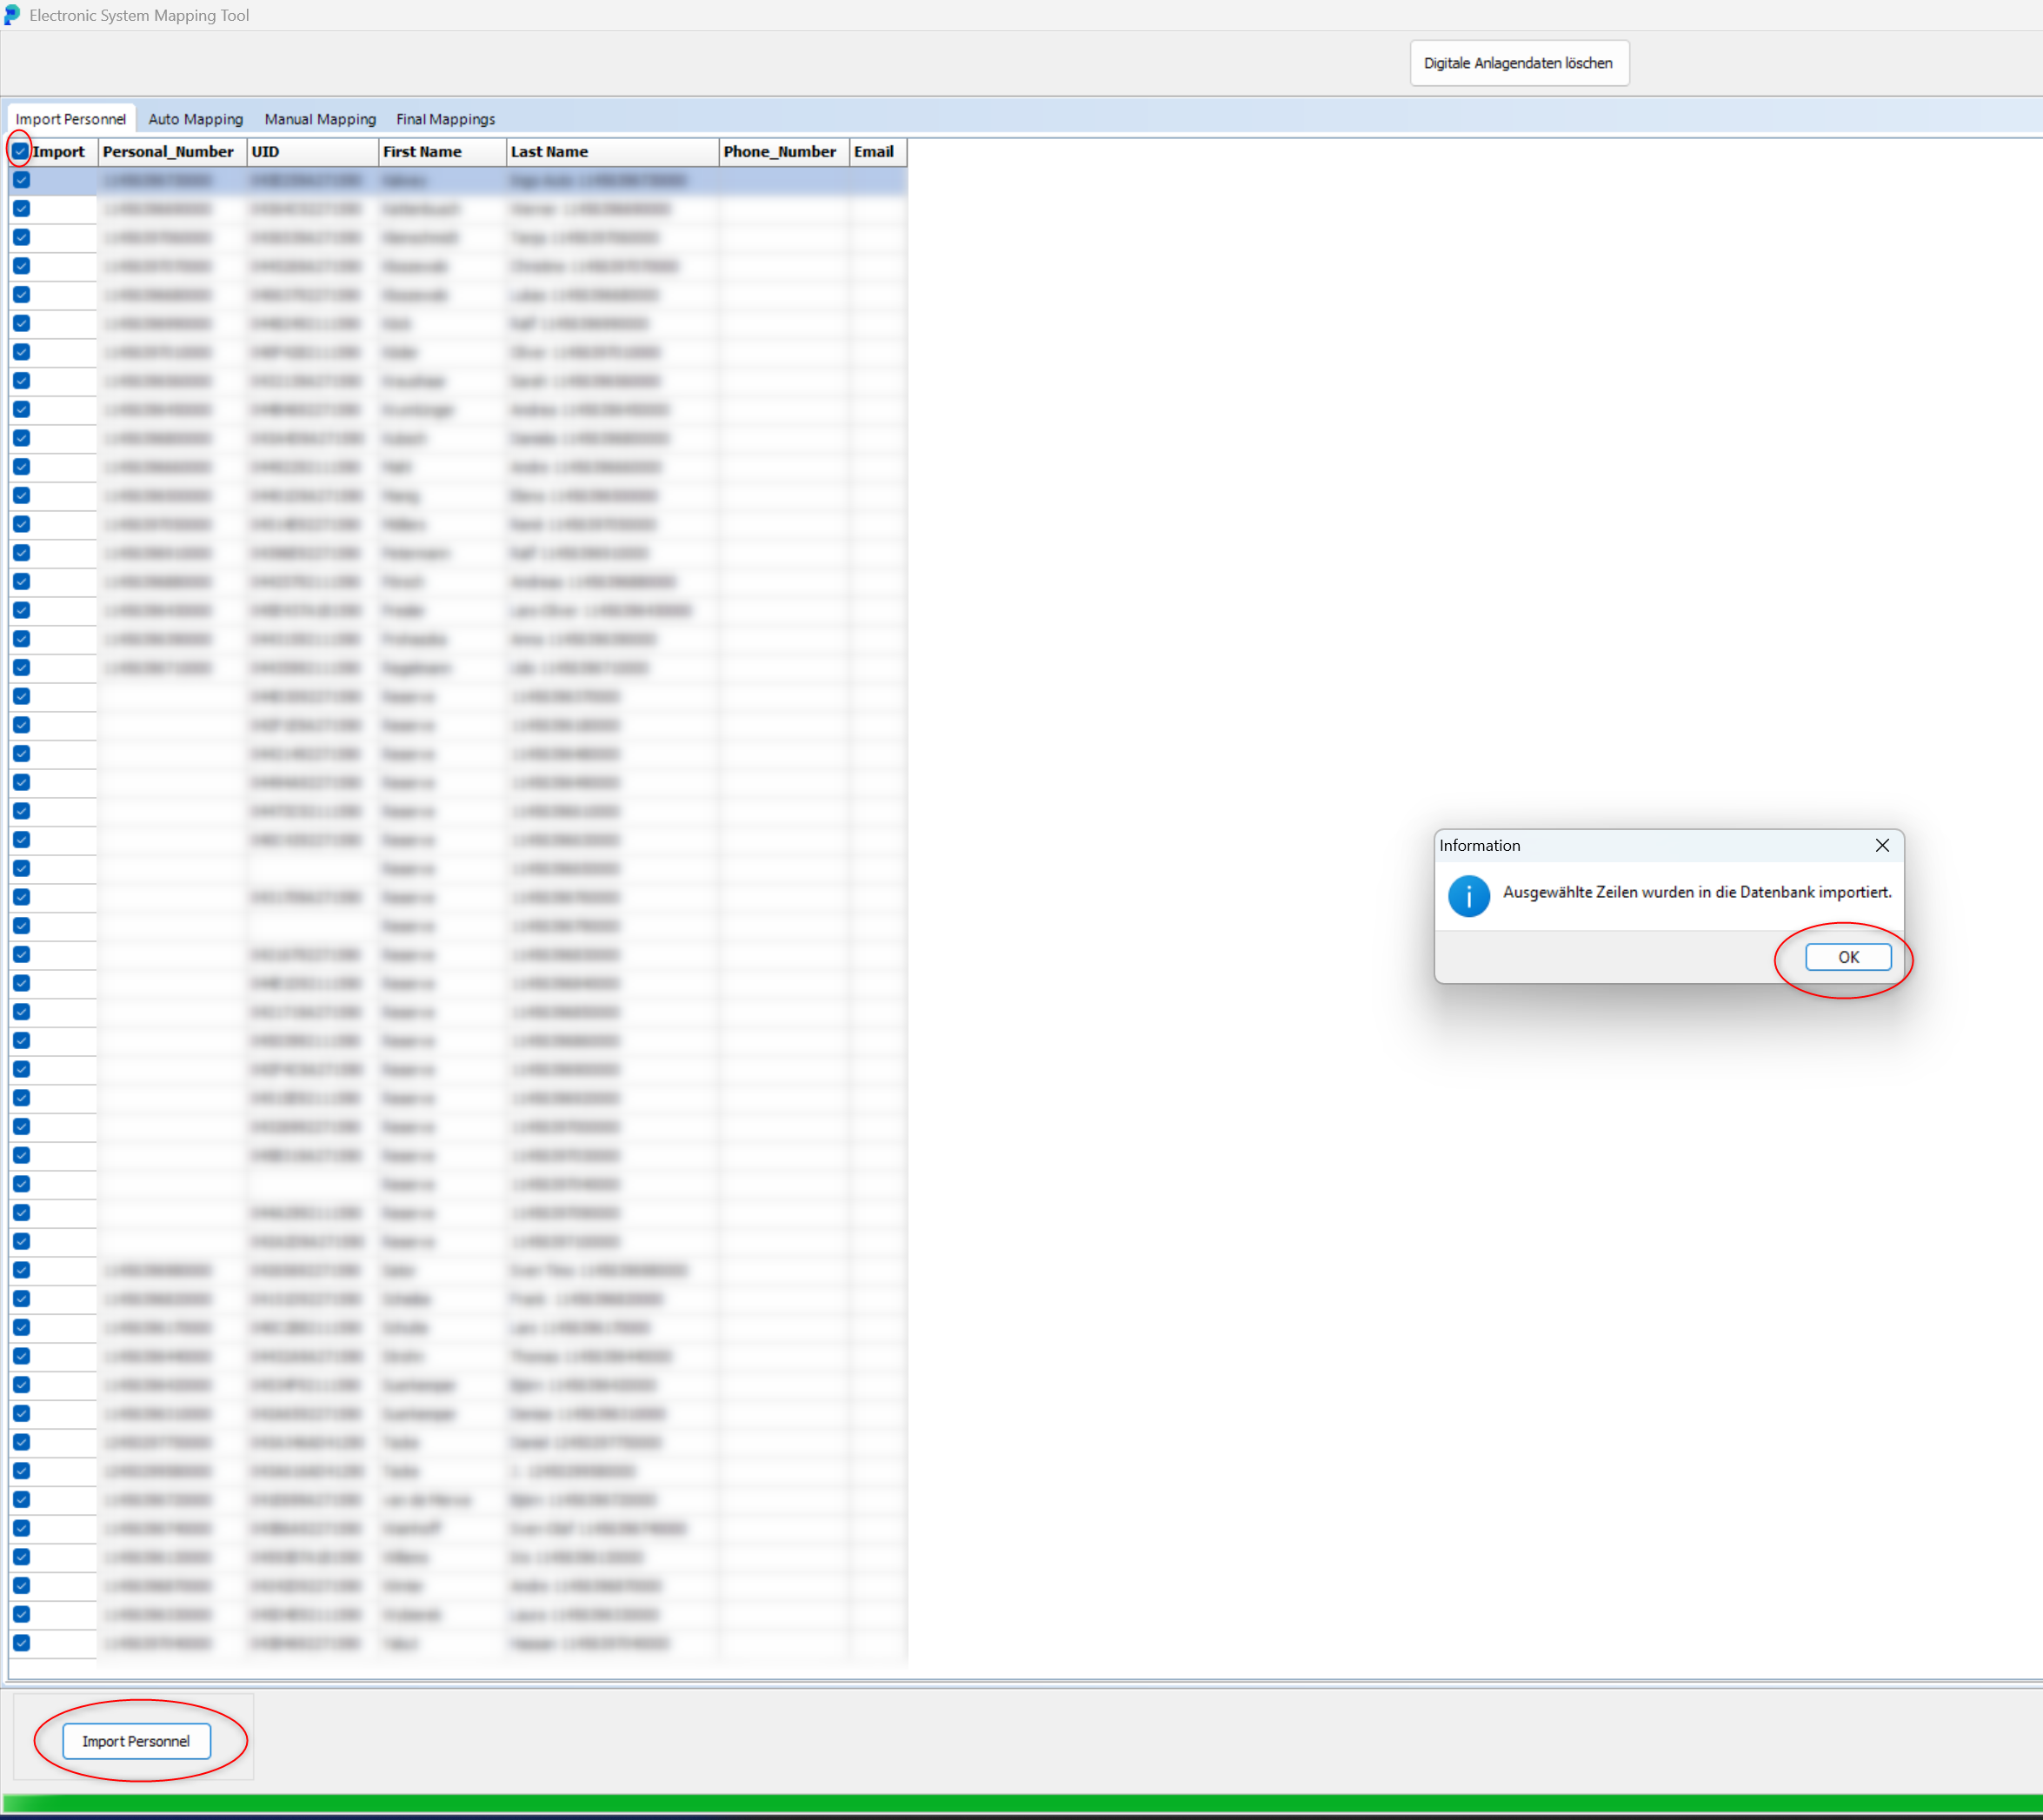
You will now see the retrieved personnel data from DOM ENIQ.
Please click on"Import All"to import the personnel data.
You will see a loading screen and the data will be imported.Once the import is complete, you will receive a confirmation message.
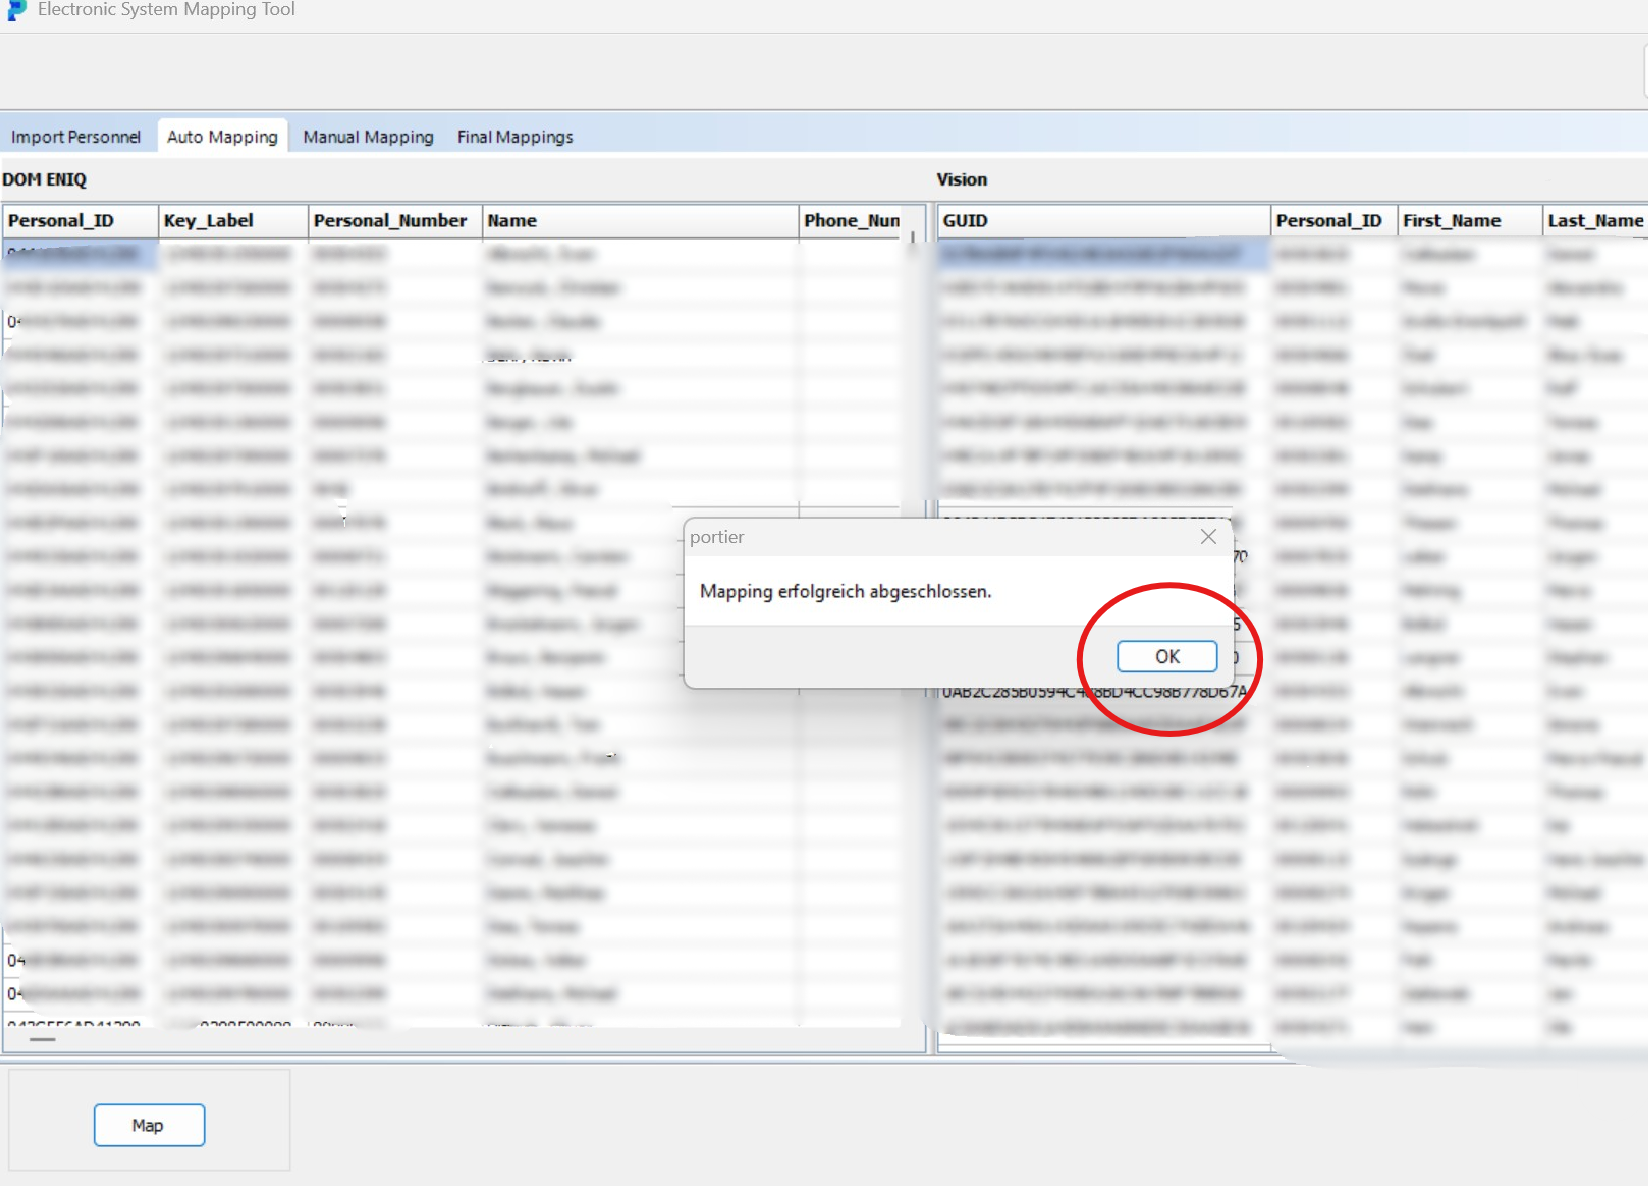
After importing the personnel, please click on"Auto-Mapping".
A brief loading screen will appear and the personnel data will be loaded.
Once the personnel data is loaded, please click on the"Map" button.

You will receive a message that the mapping was completed successfully.
If Auto-Mapping cannot assign a person, this can be done manually with"Manual Mapping" afterwards.
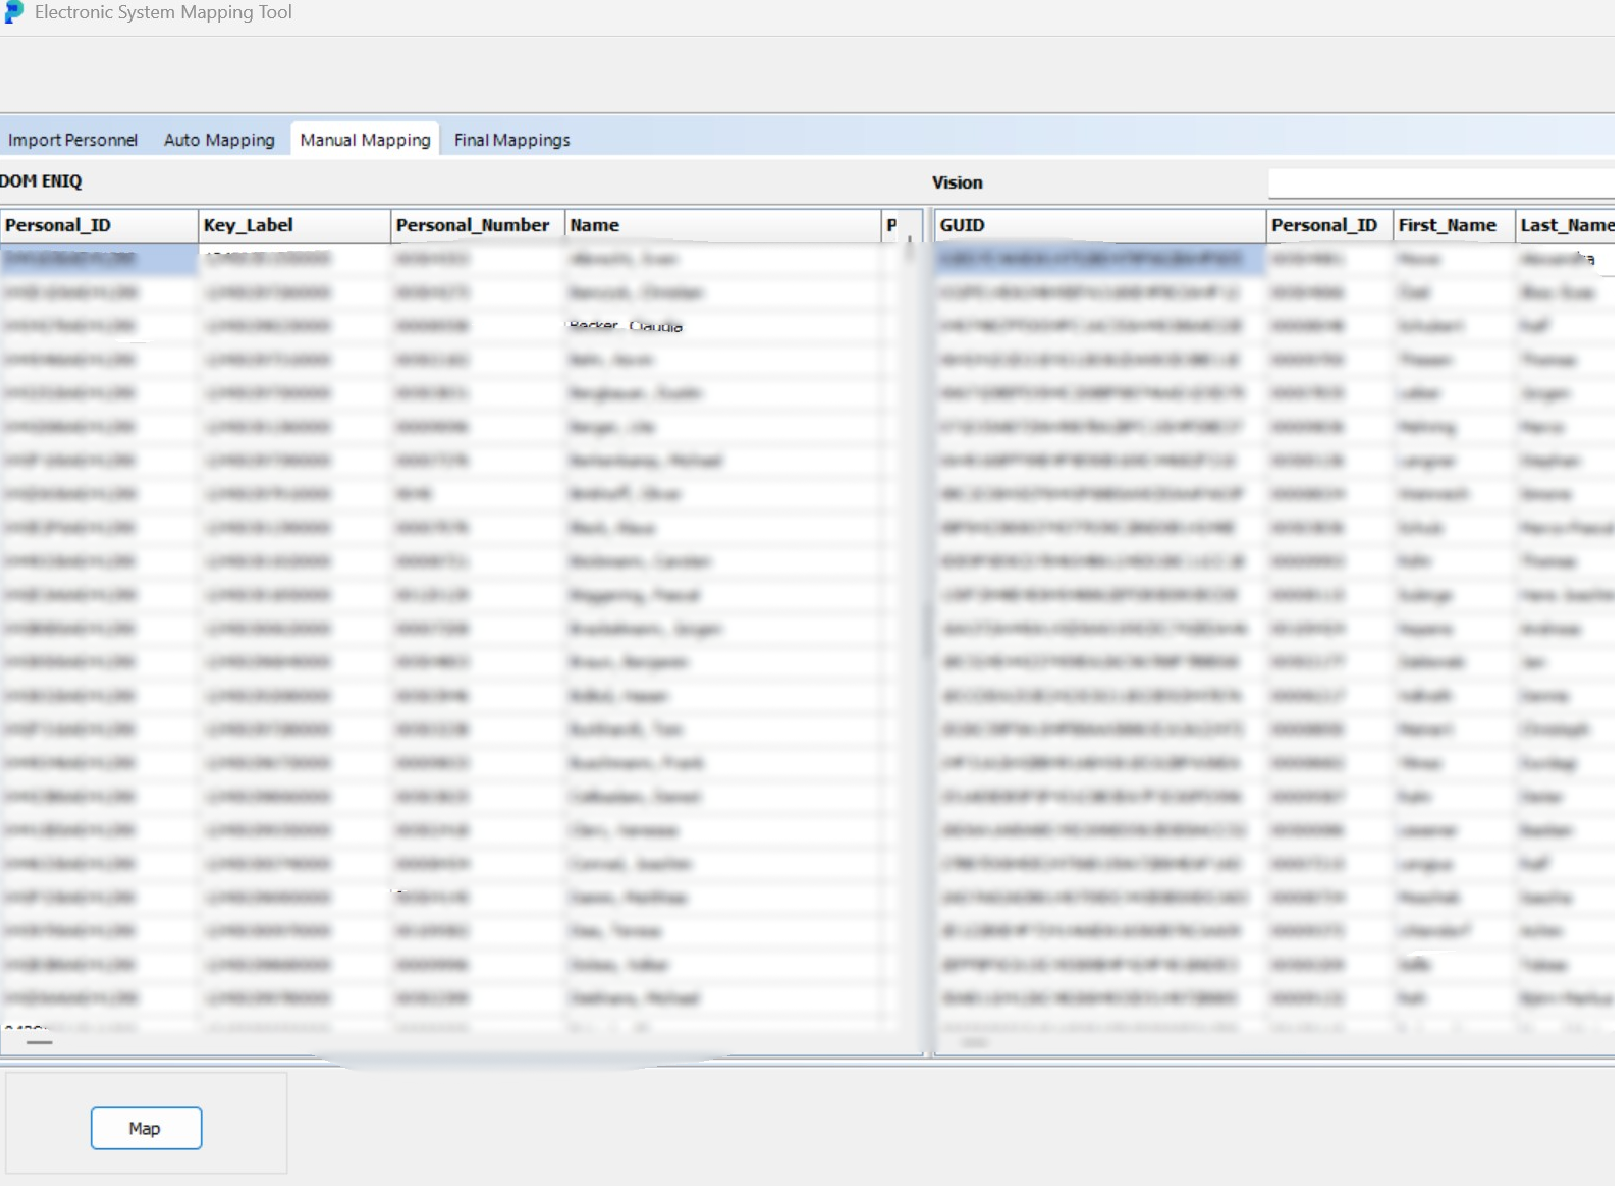
Under the Final Mappings tab, you will now see the customer data
including key ID

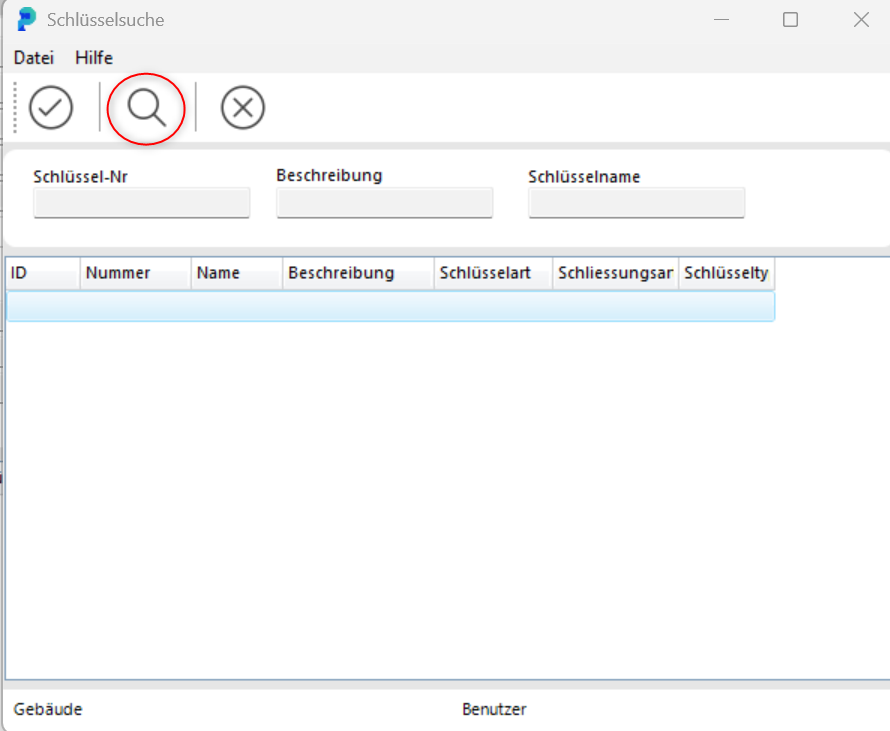
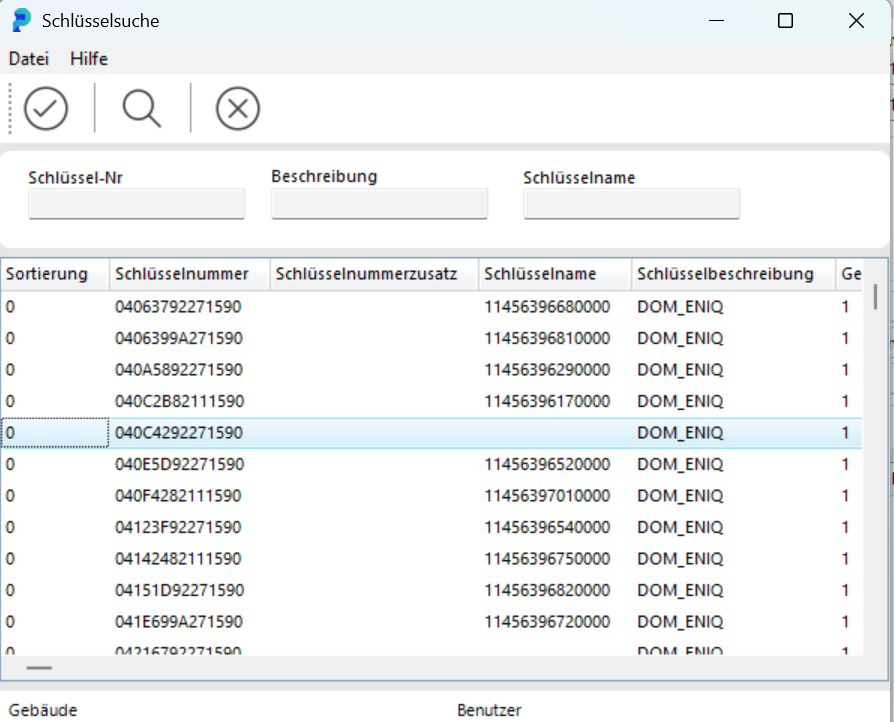
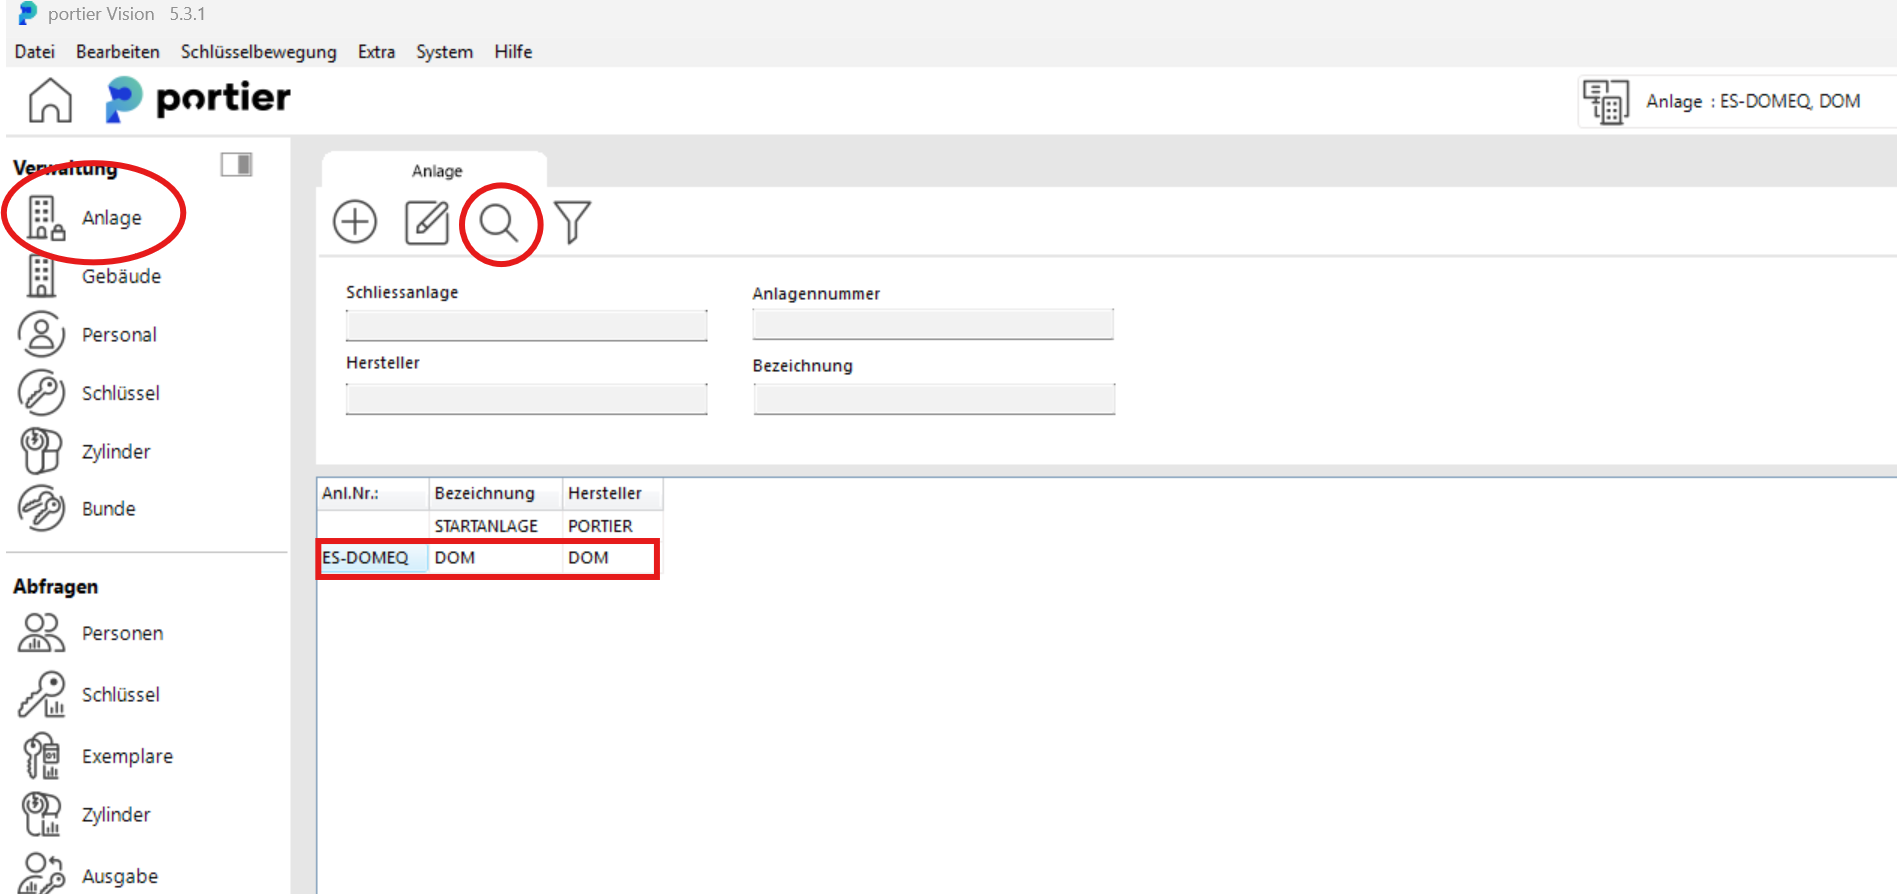
After clicking on the facility in the main screen and the"Search icon"
and double-clicking on"Your facility" you will enter the facility menu.
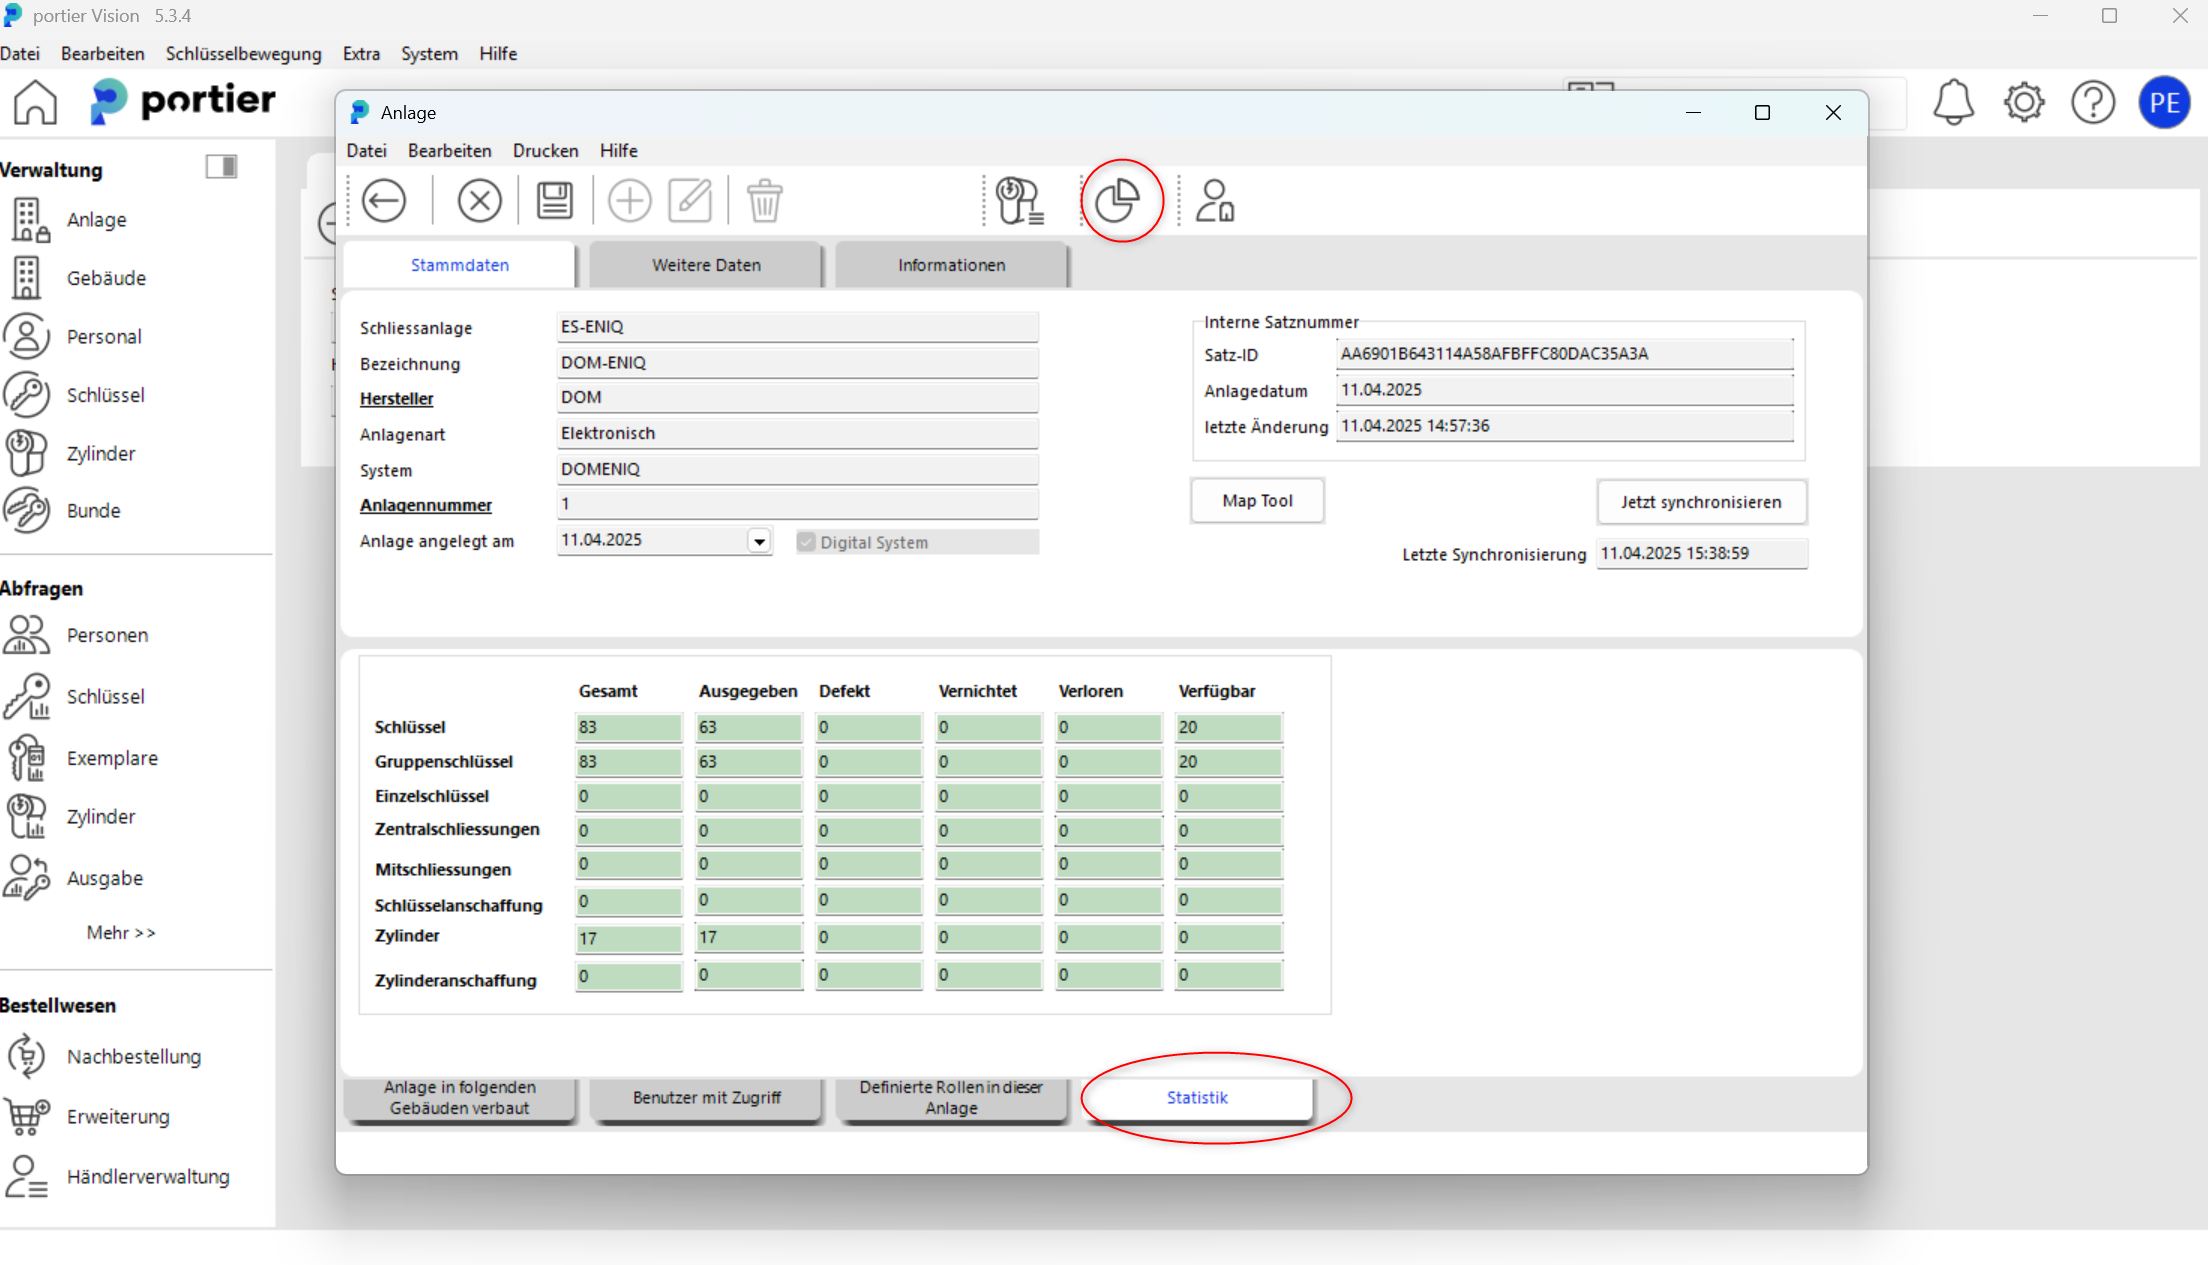
In the facility menu, you will find the Statistics button in the upper right of the screen. Clicking the button shows you the group chart and the facility overview.
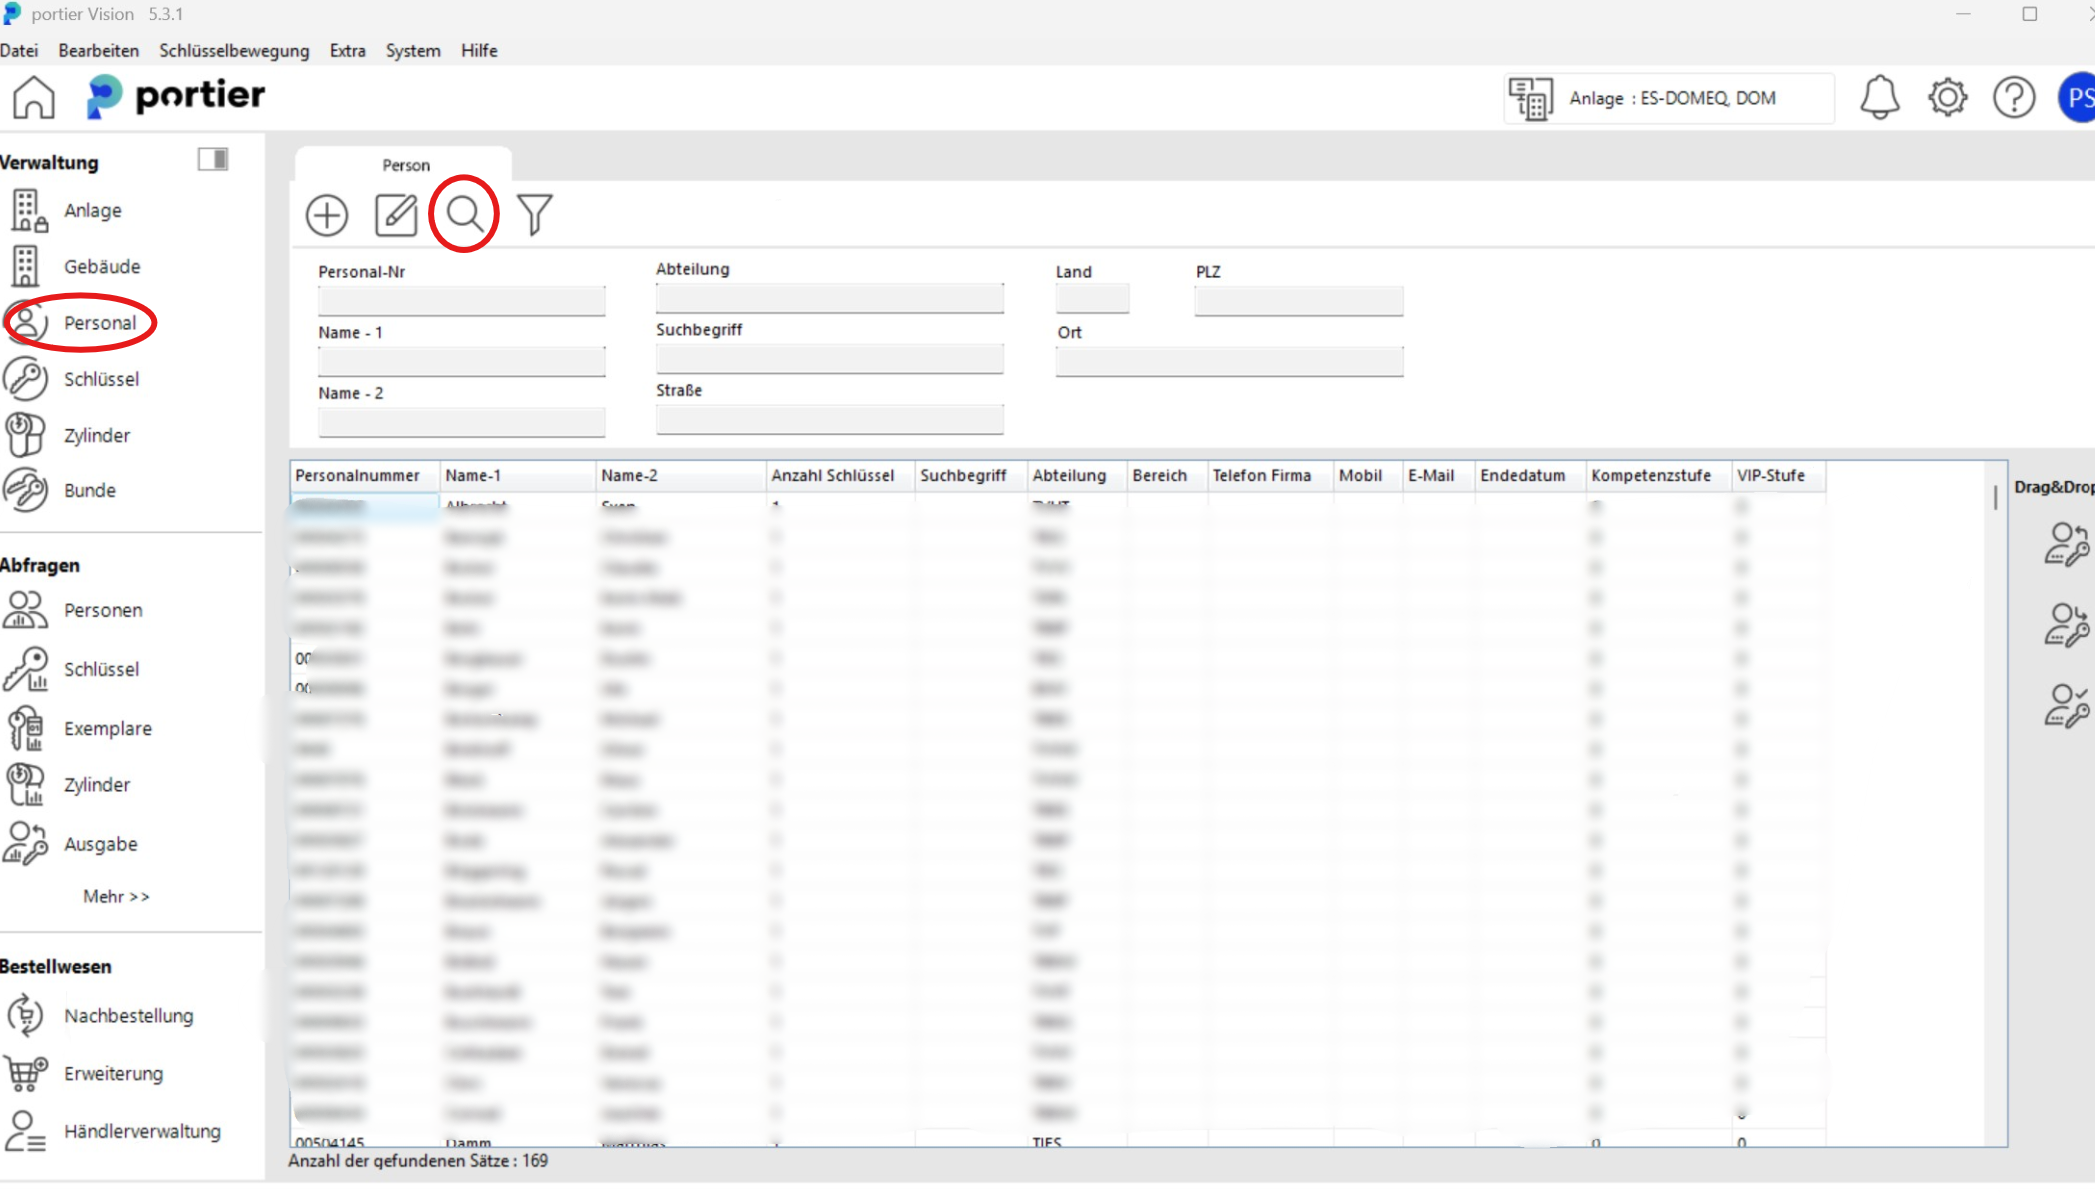
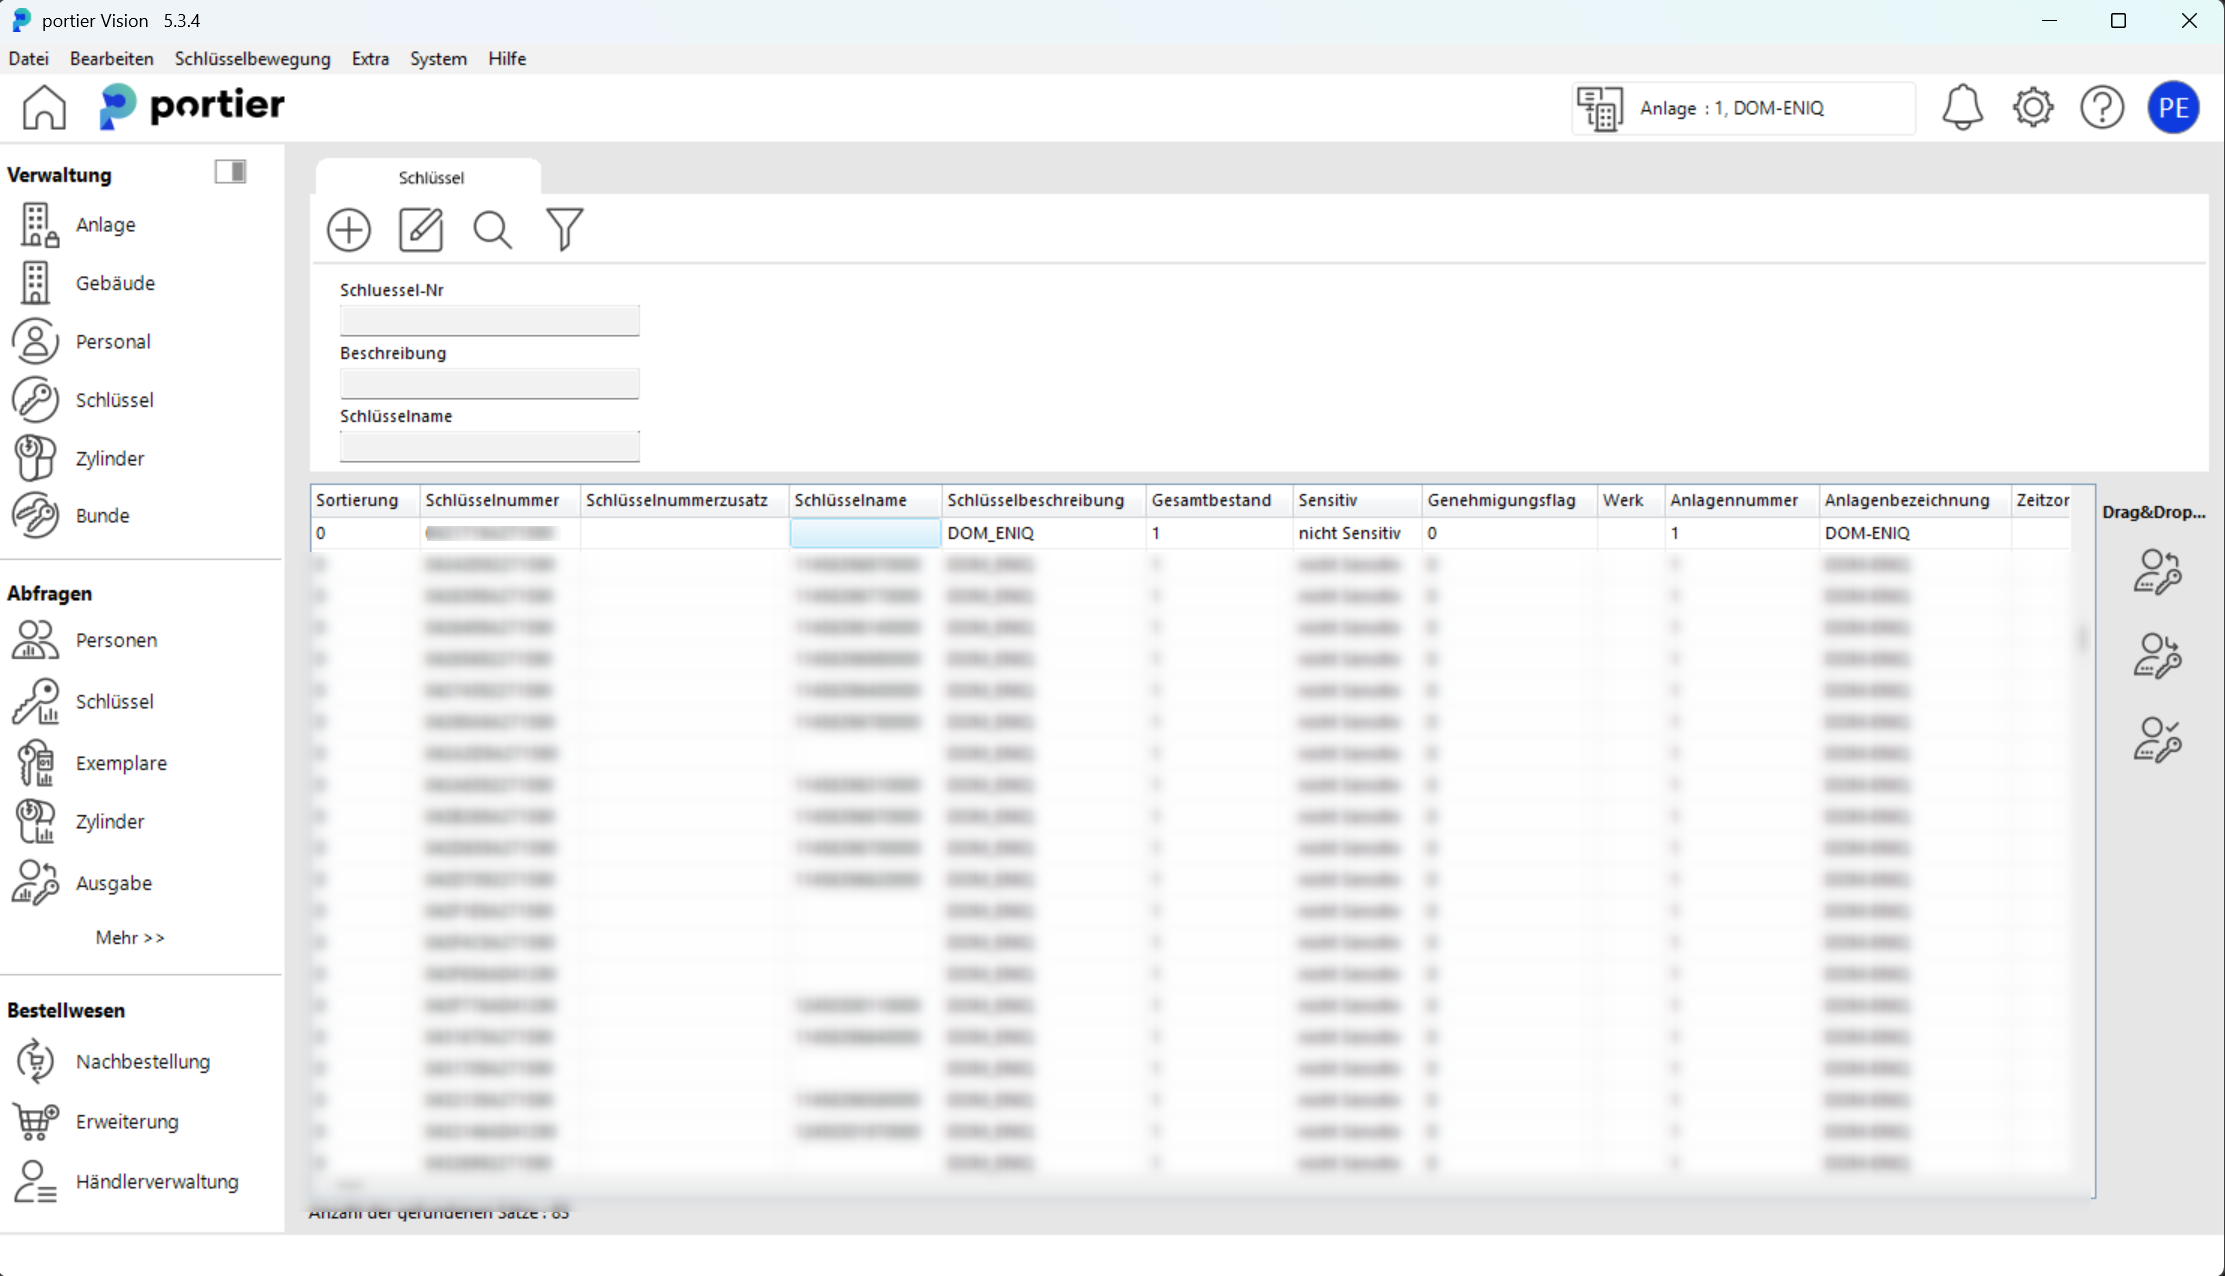
By clicking on"Personnel" in the upper left of the screen and the"Search icon" you can view the personnel overview and their assigned key copies.
Key Issuance in portier-DOMTo issue a key, please click on"Issuance"
.
Then double-click on the key you want to issue from the list.
The key will be transferred to the"Key for issuance" field.Then select the person to whom you want to issue the key.You can now complete the issuance either viaDigipad,
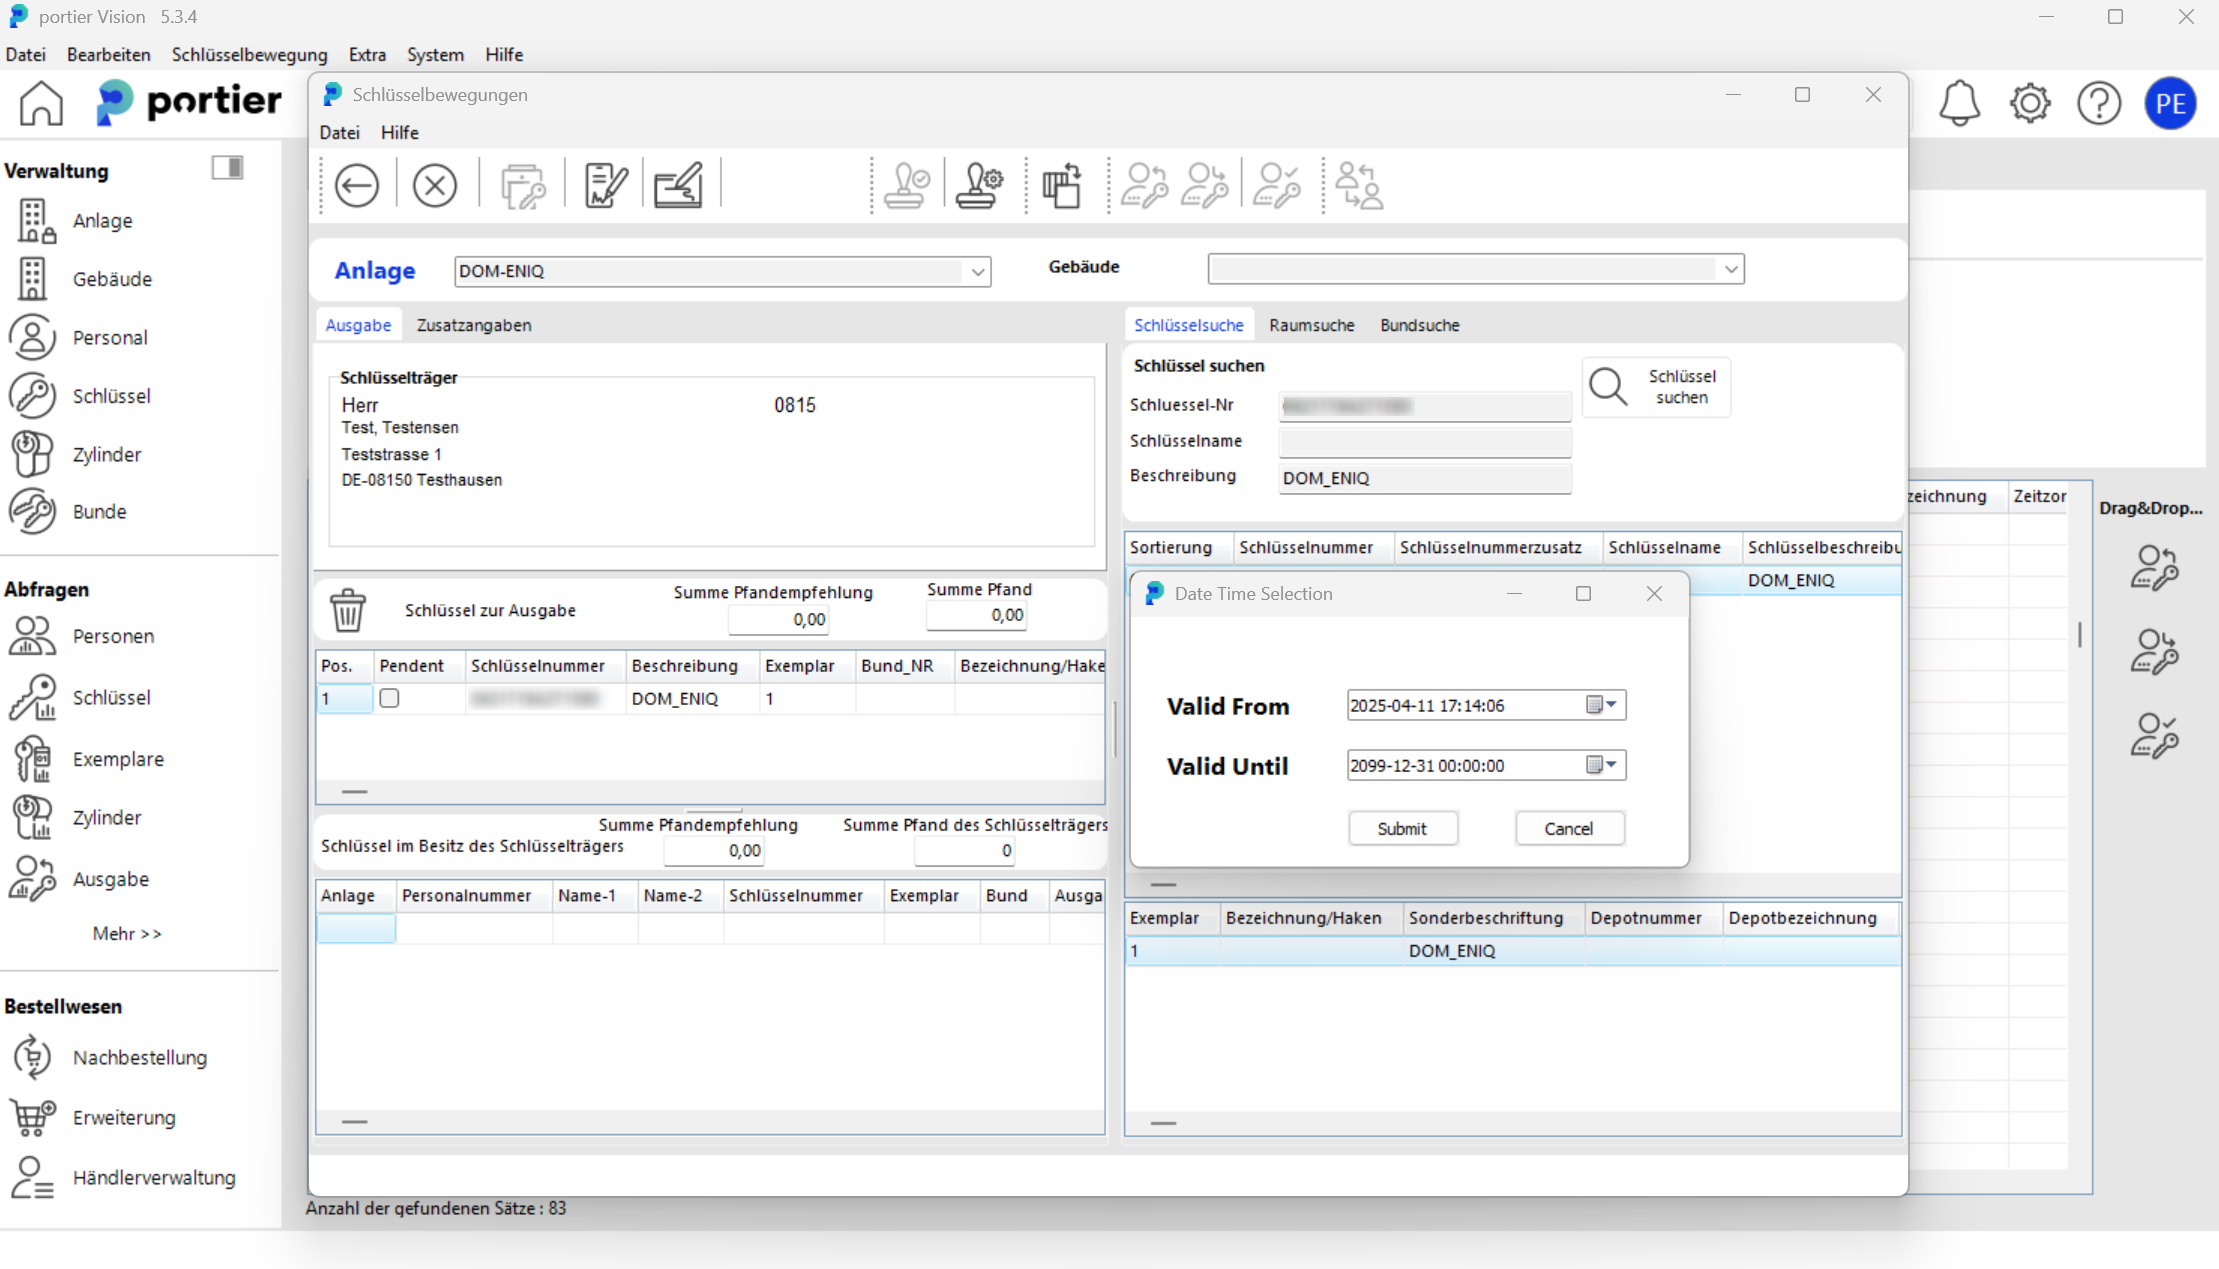
KeyOnTheGo
or via theBook button."Return".
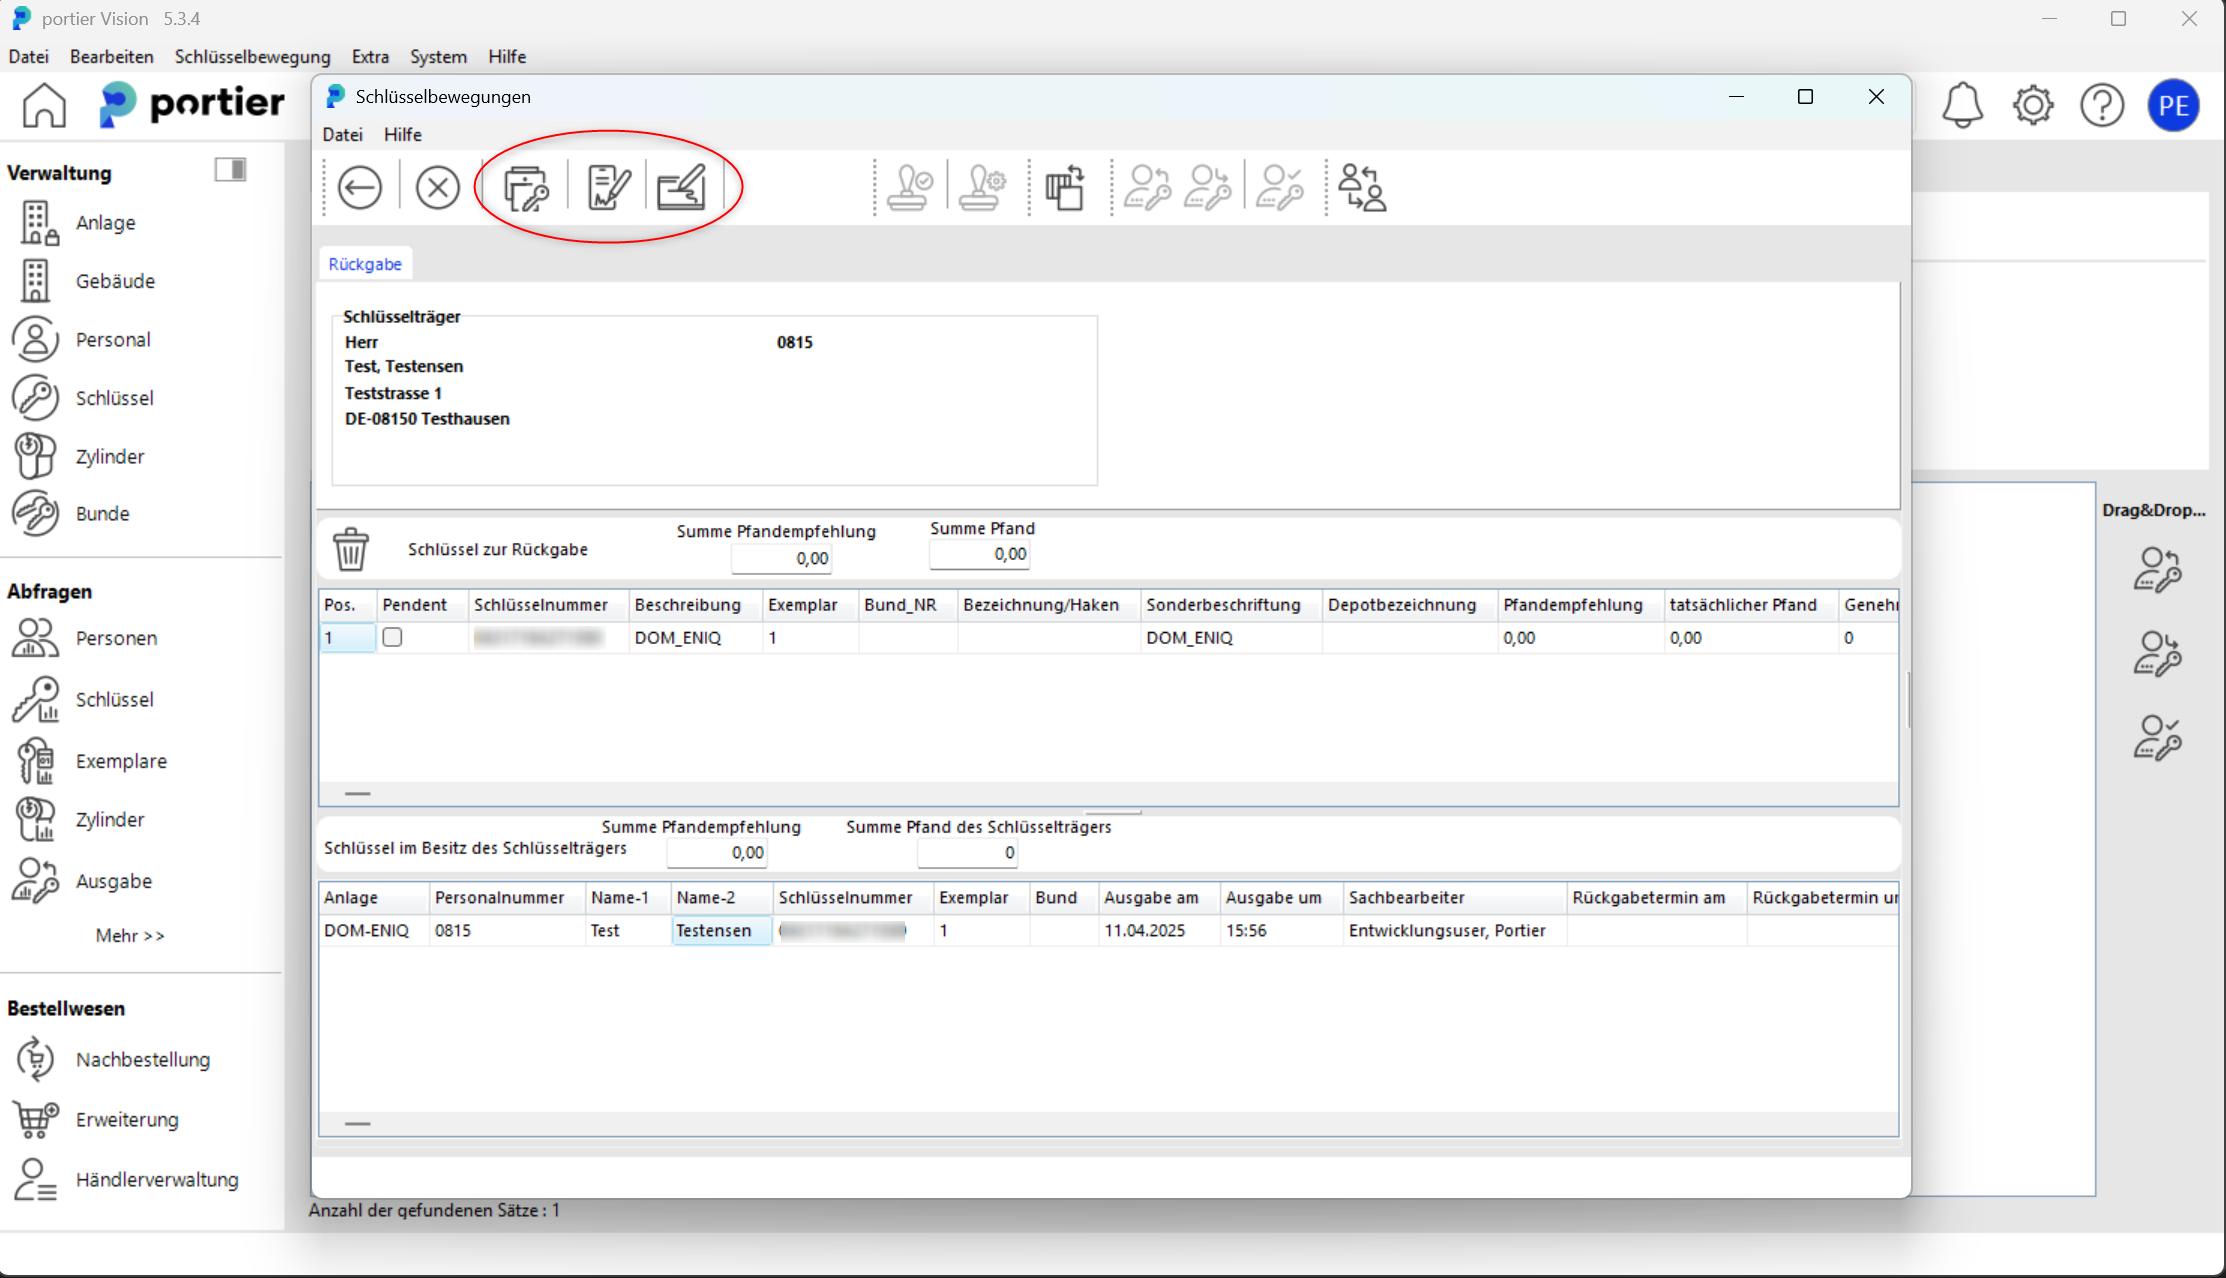
With adouble-click on the key you want to return, it will be transferred to the"Key for return" field.
You can then return the key as usual – either viaDigipad,KeyOnTheGo or via theBook button.
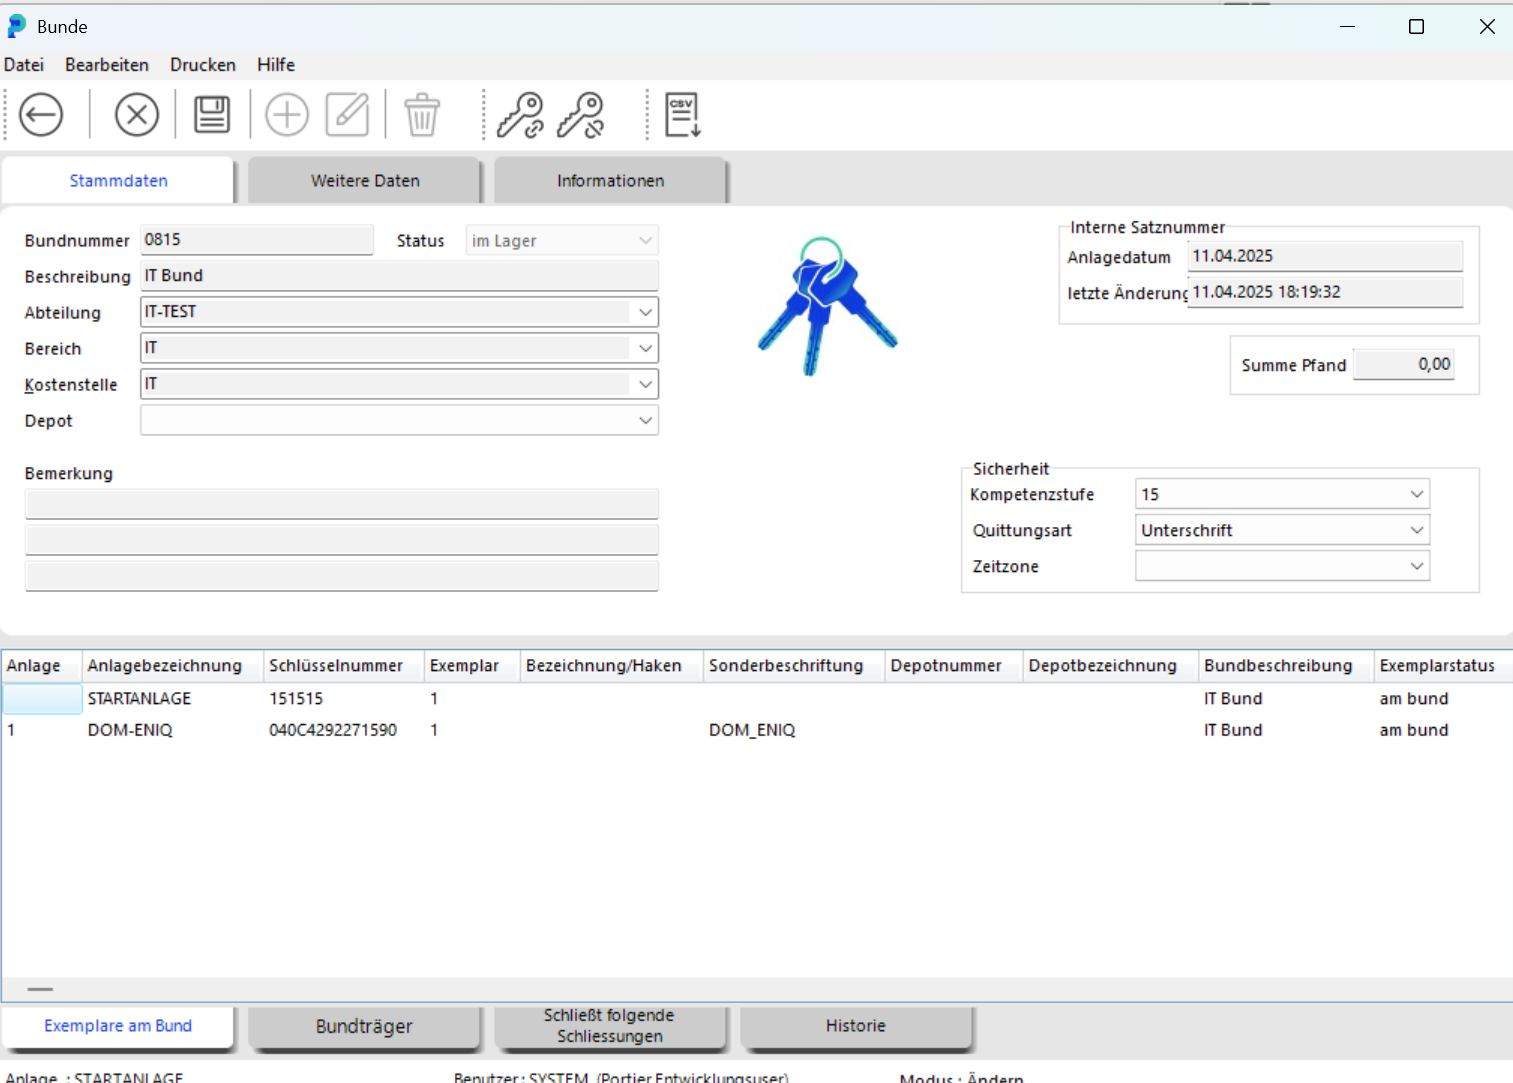
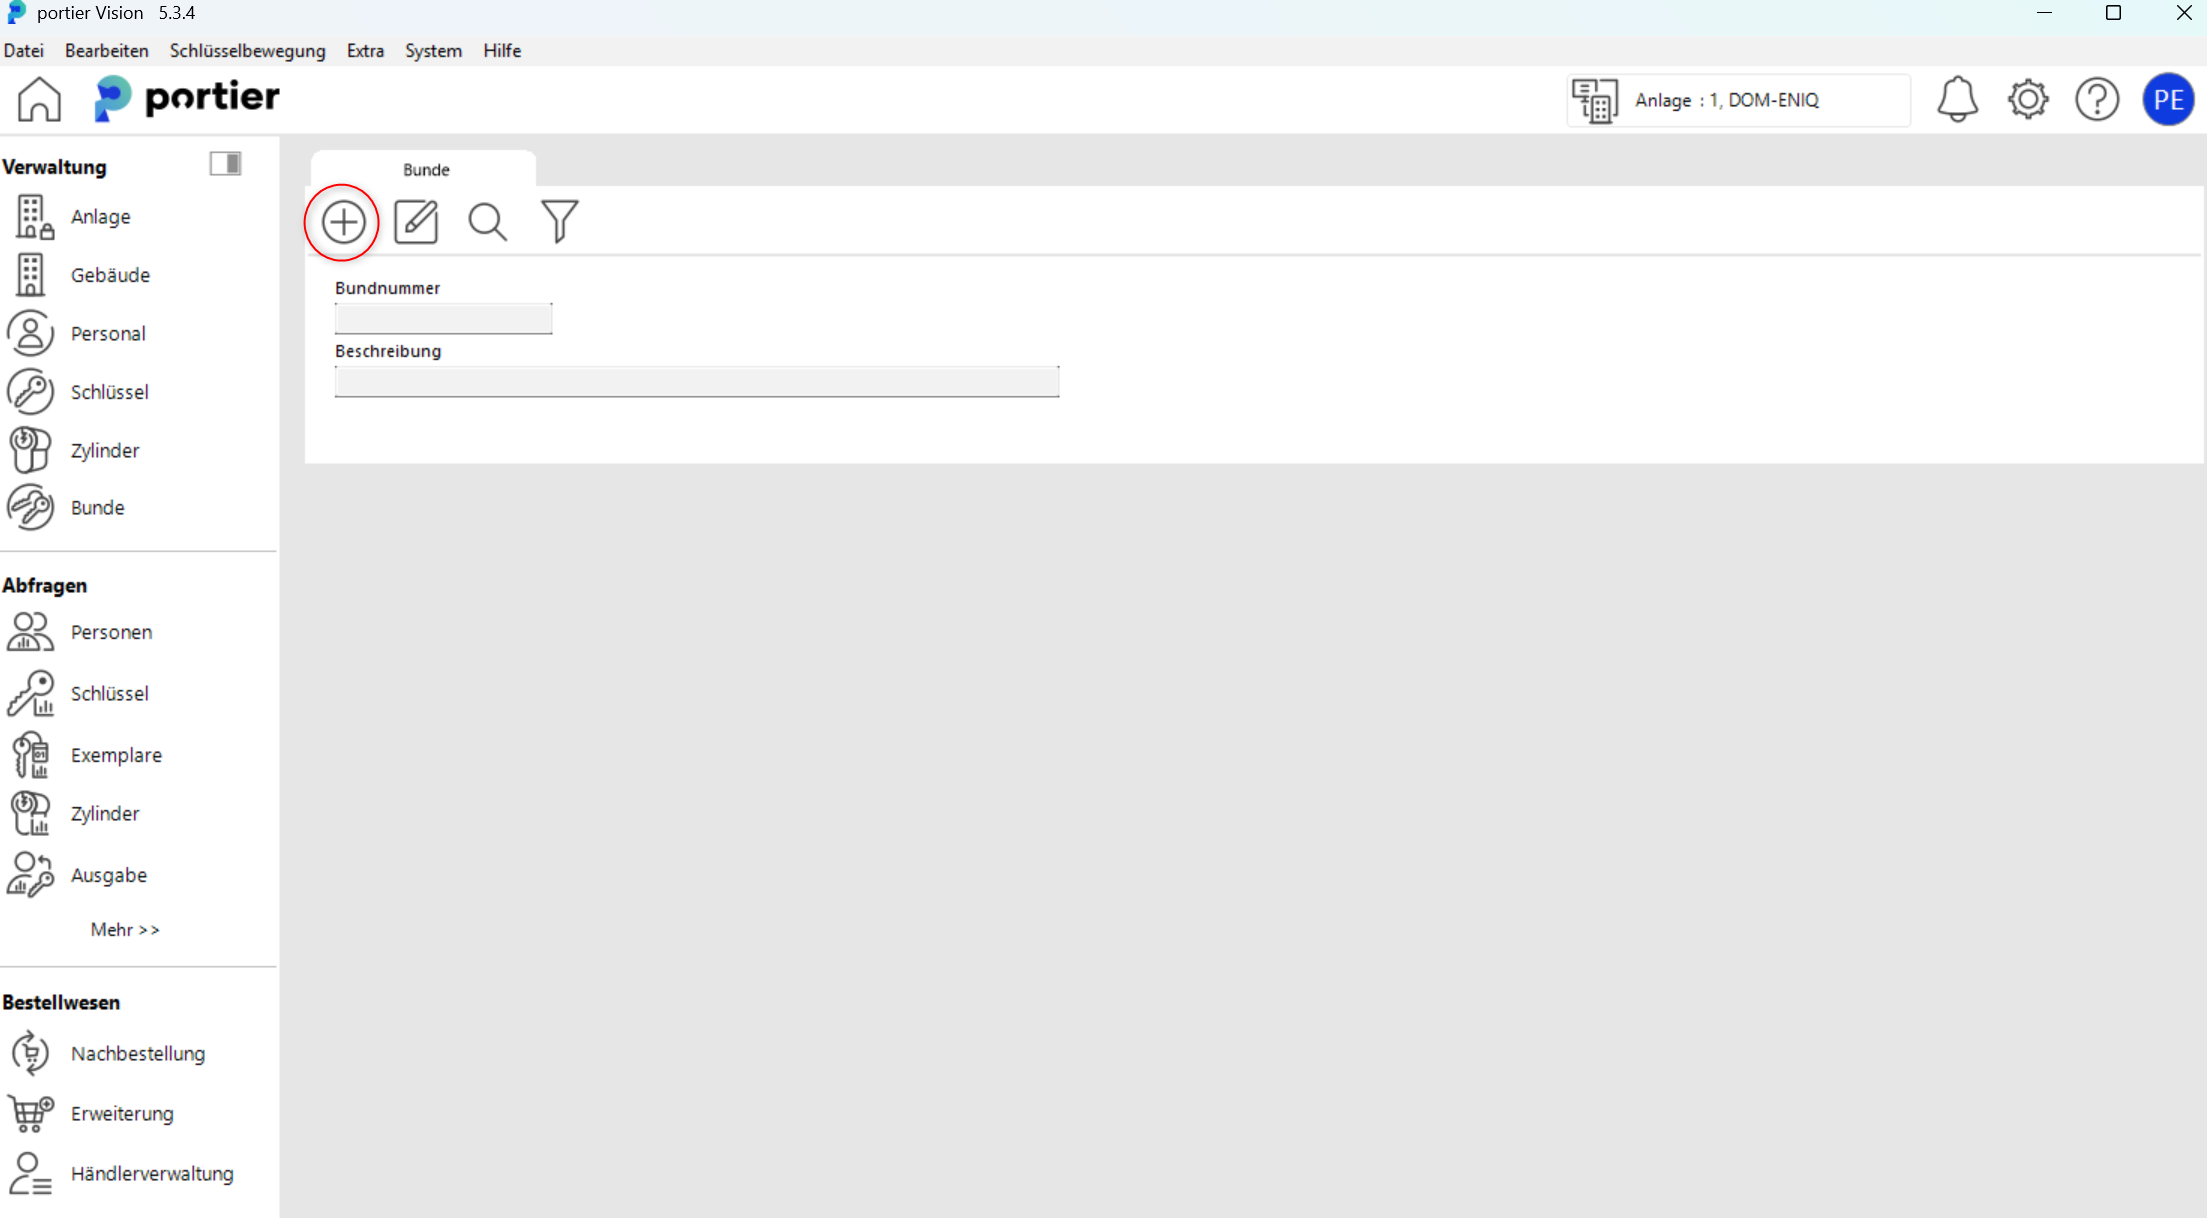
Key Bunches in portier-DOM
To add akey bunch, please click on theplus symbol (+).
Please fill in all required information in the"Bunches" dialog and then click on the"Add key" icon.
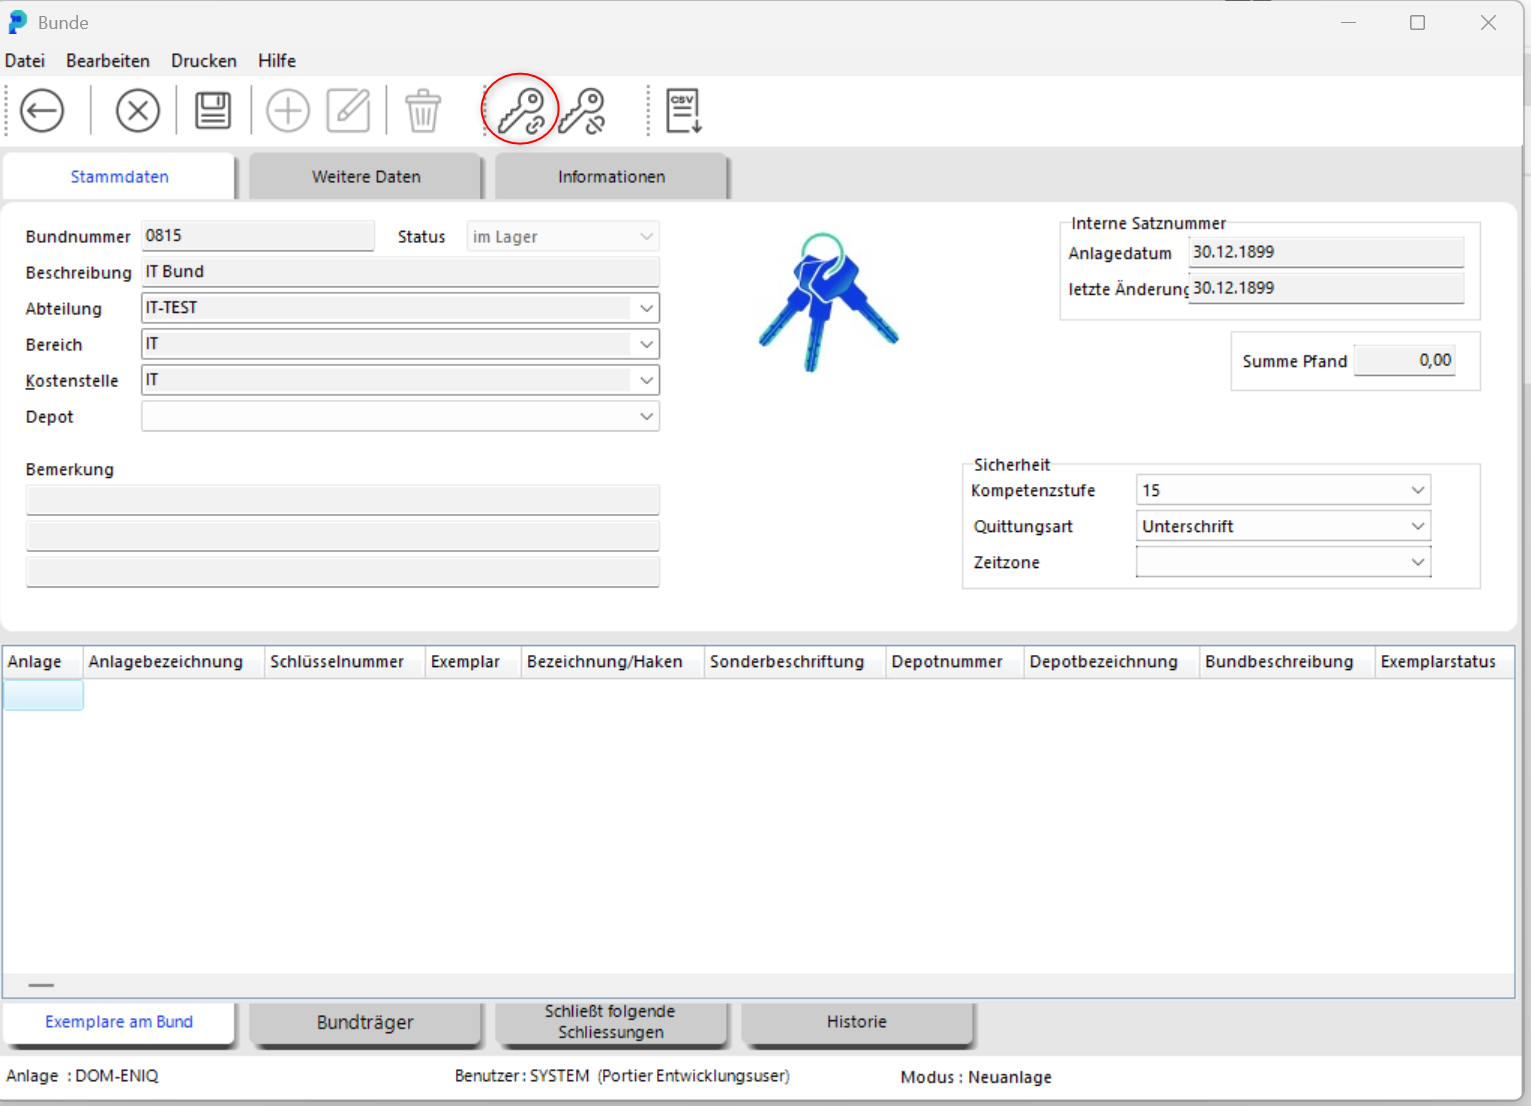
Click on themagnifying glass icon to search for the keys and transponders you want to add to the bunch.